My Espresso Cheesecake is no-bake, and its creamy filling sits on an Espresso Oreo Cookie Crust with a layer of chocolate Ganache, making it over-the-top delicious! Without turning on the oven, you can make this amazing dessert and impress everyone.
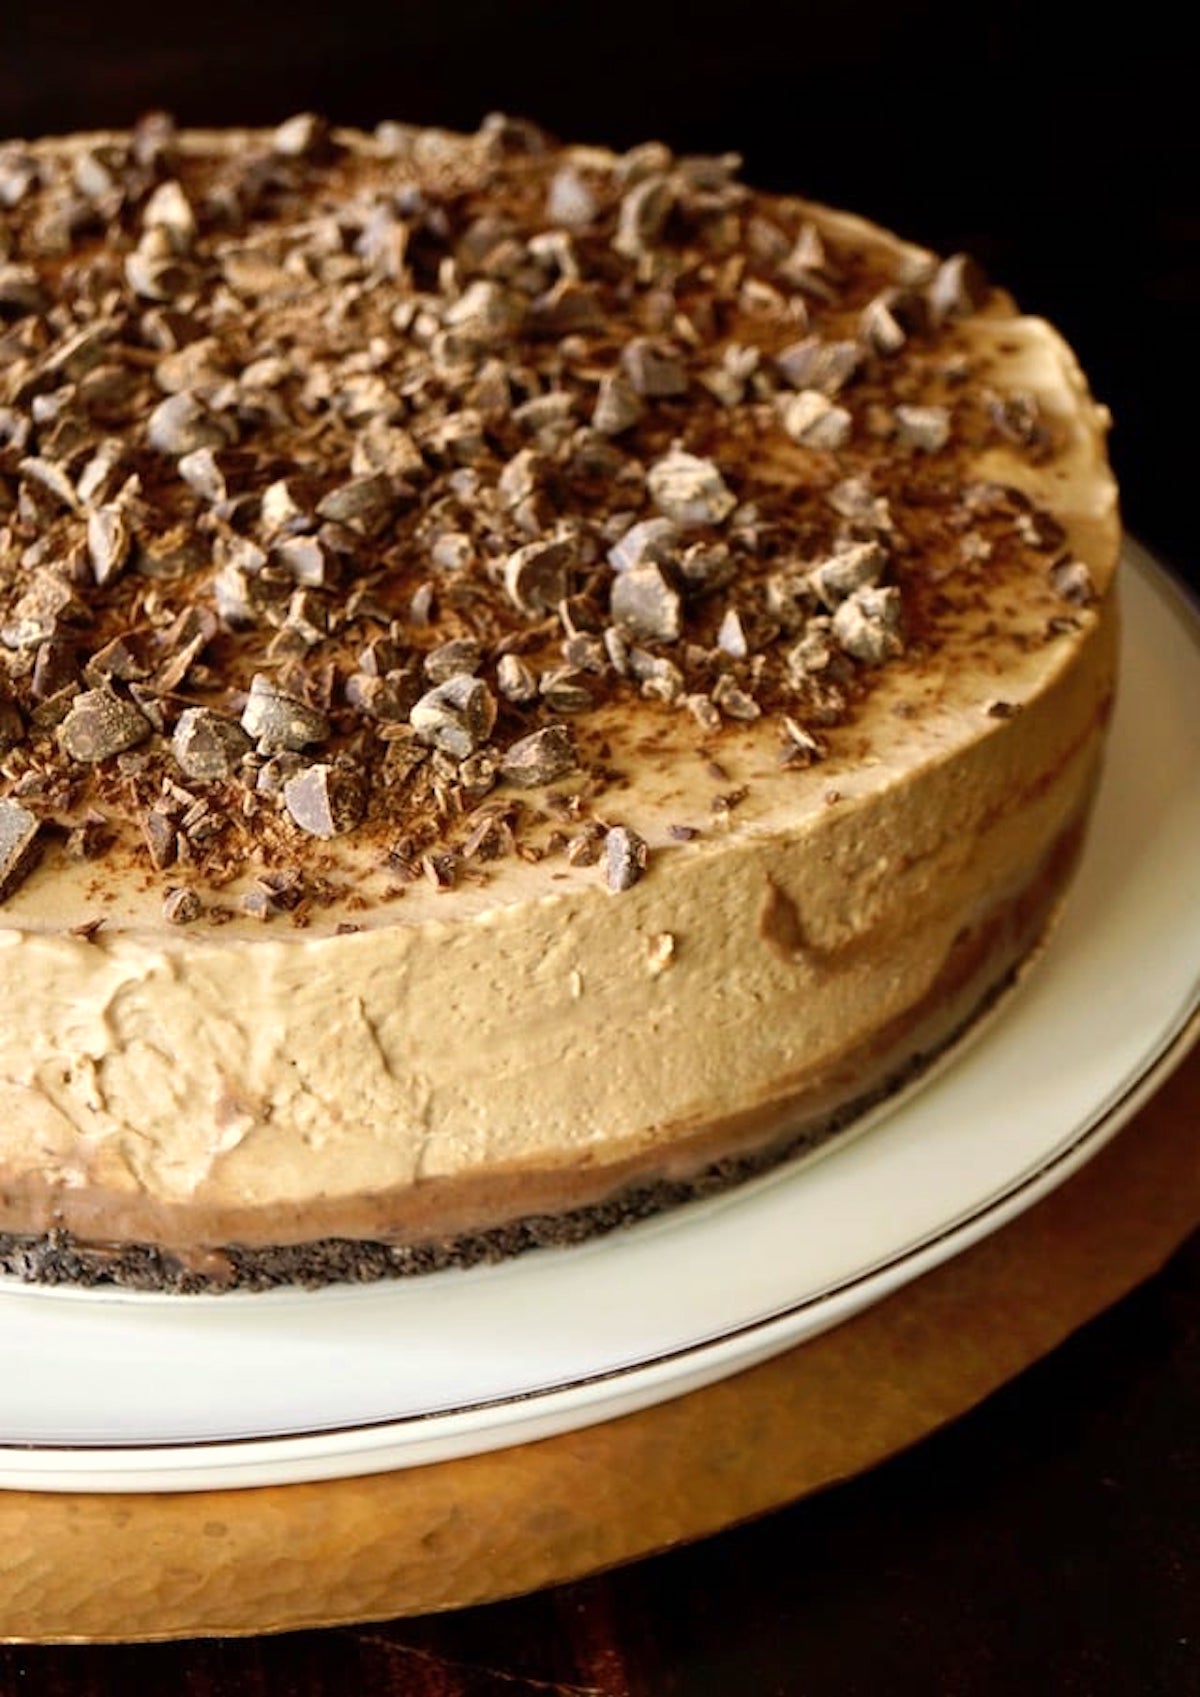
This Espresso Cheesecake with Ganache is a dessert I've been making for the past decade. It NEVER disappoints!
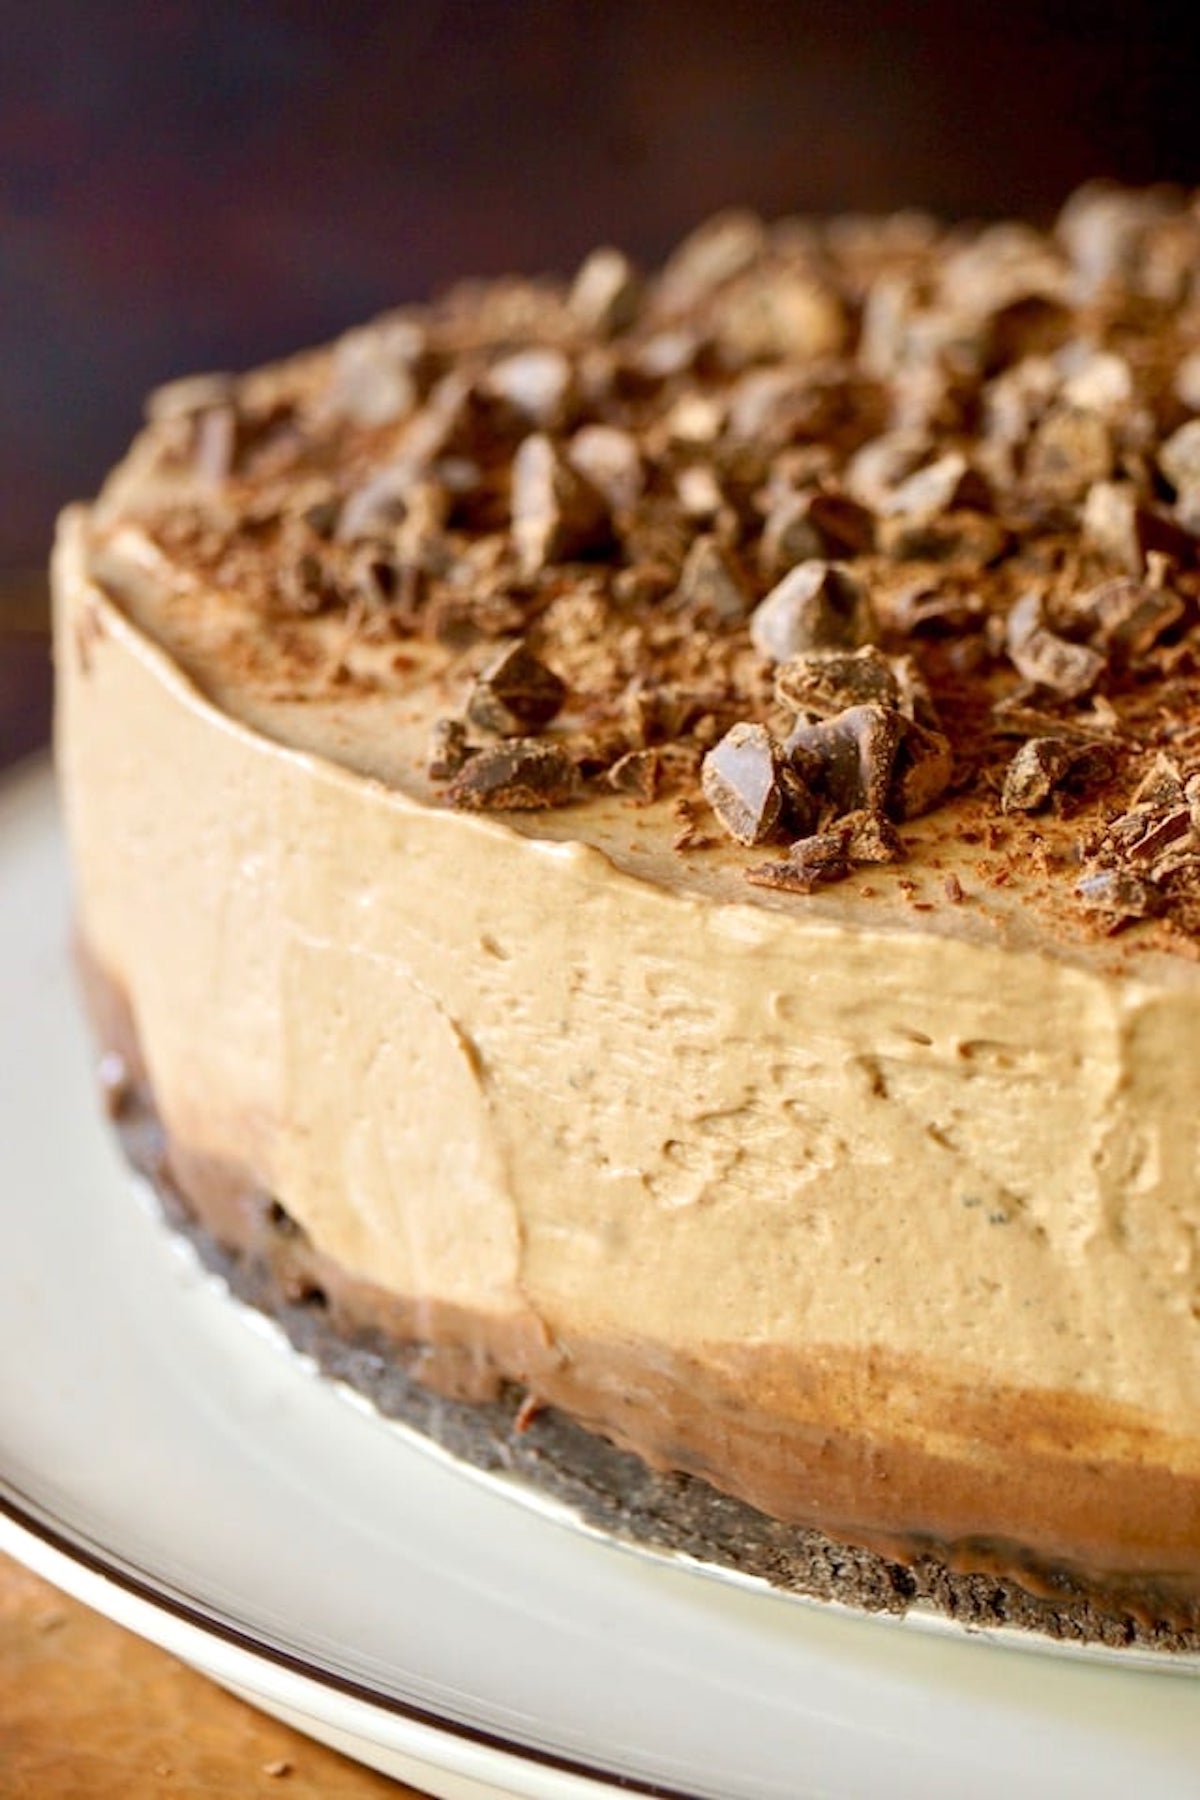
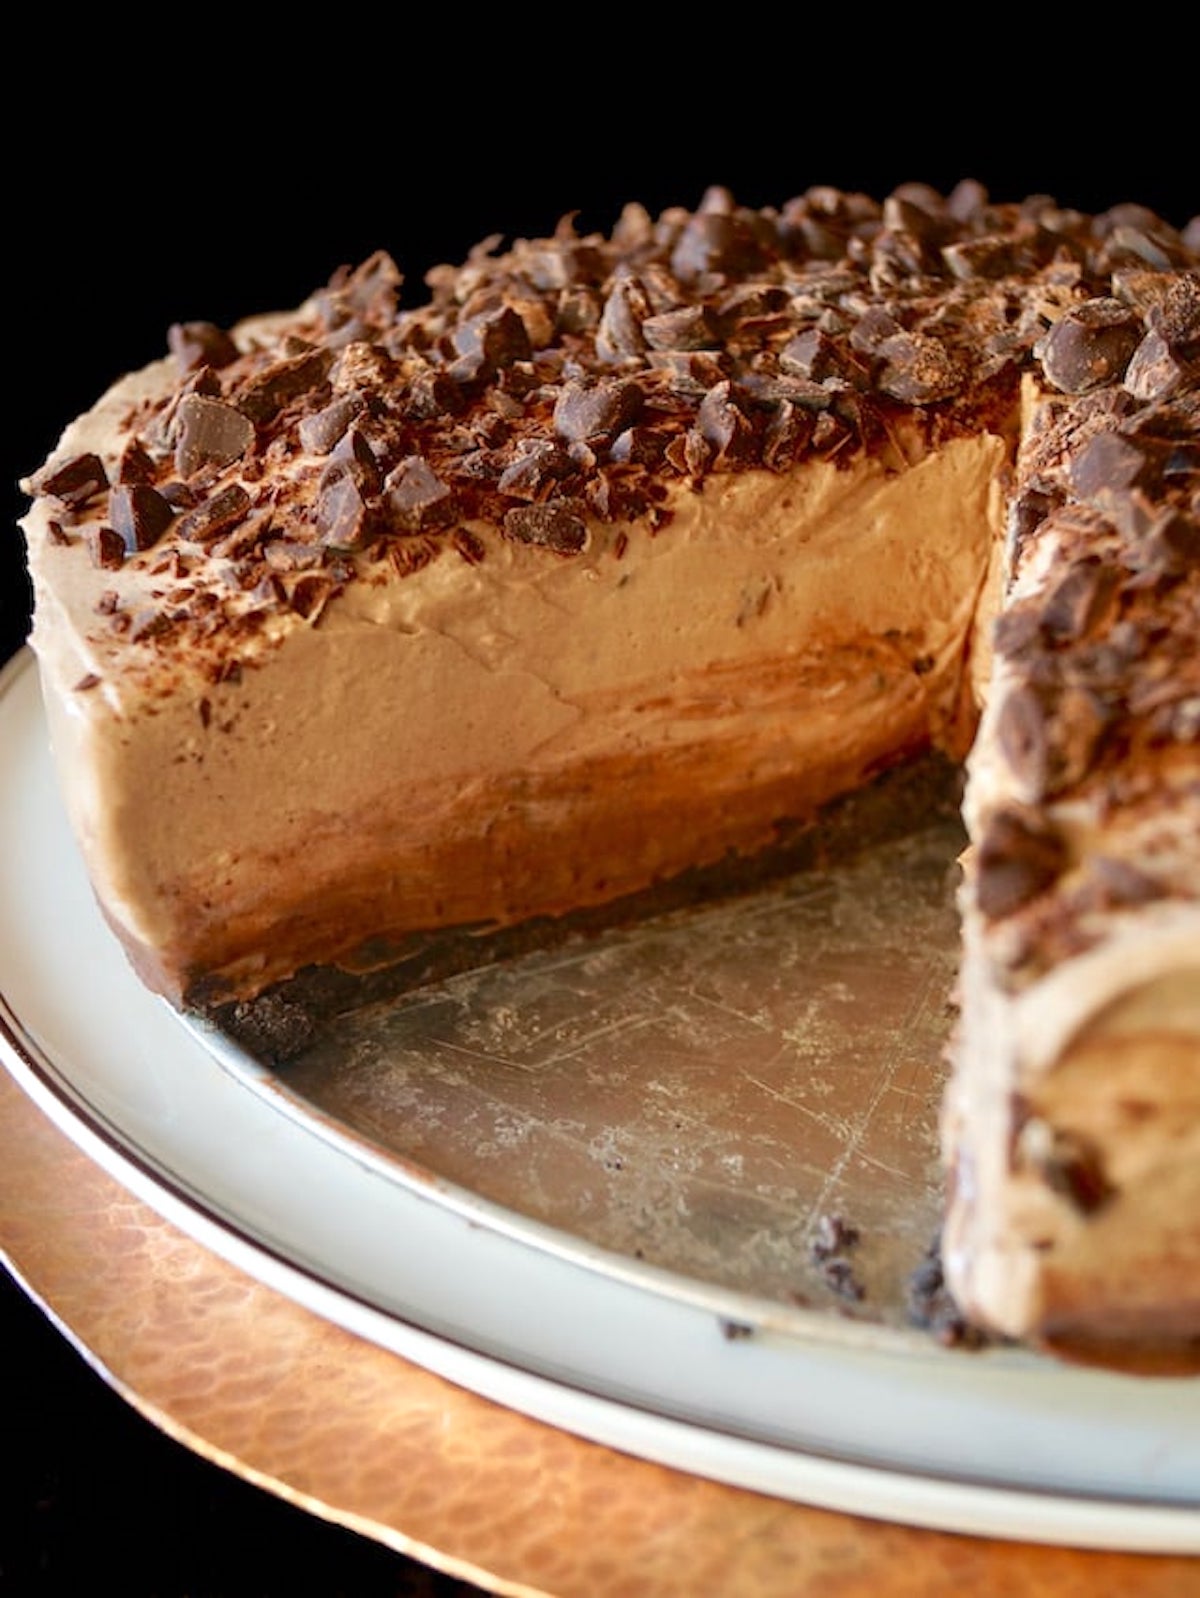
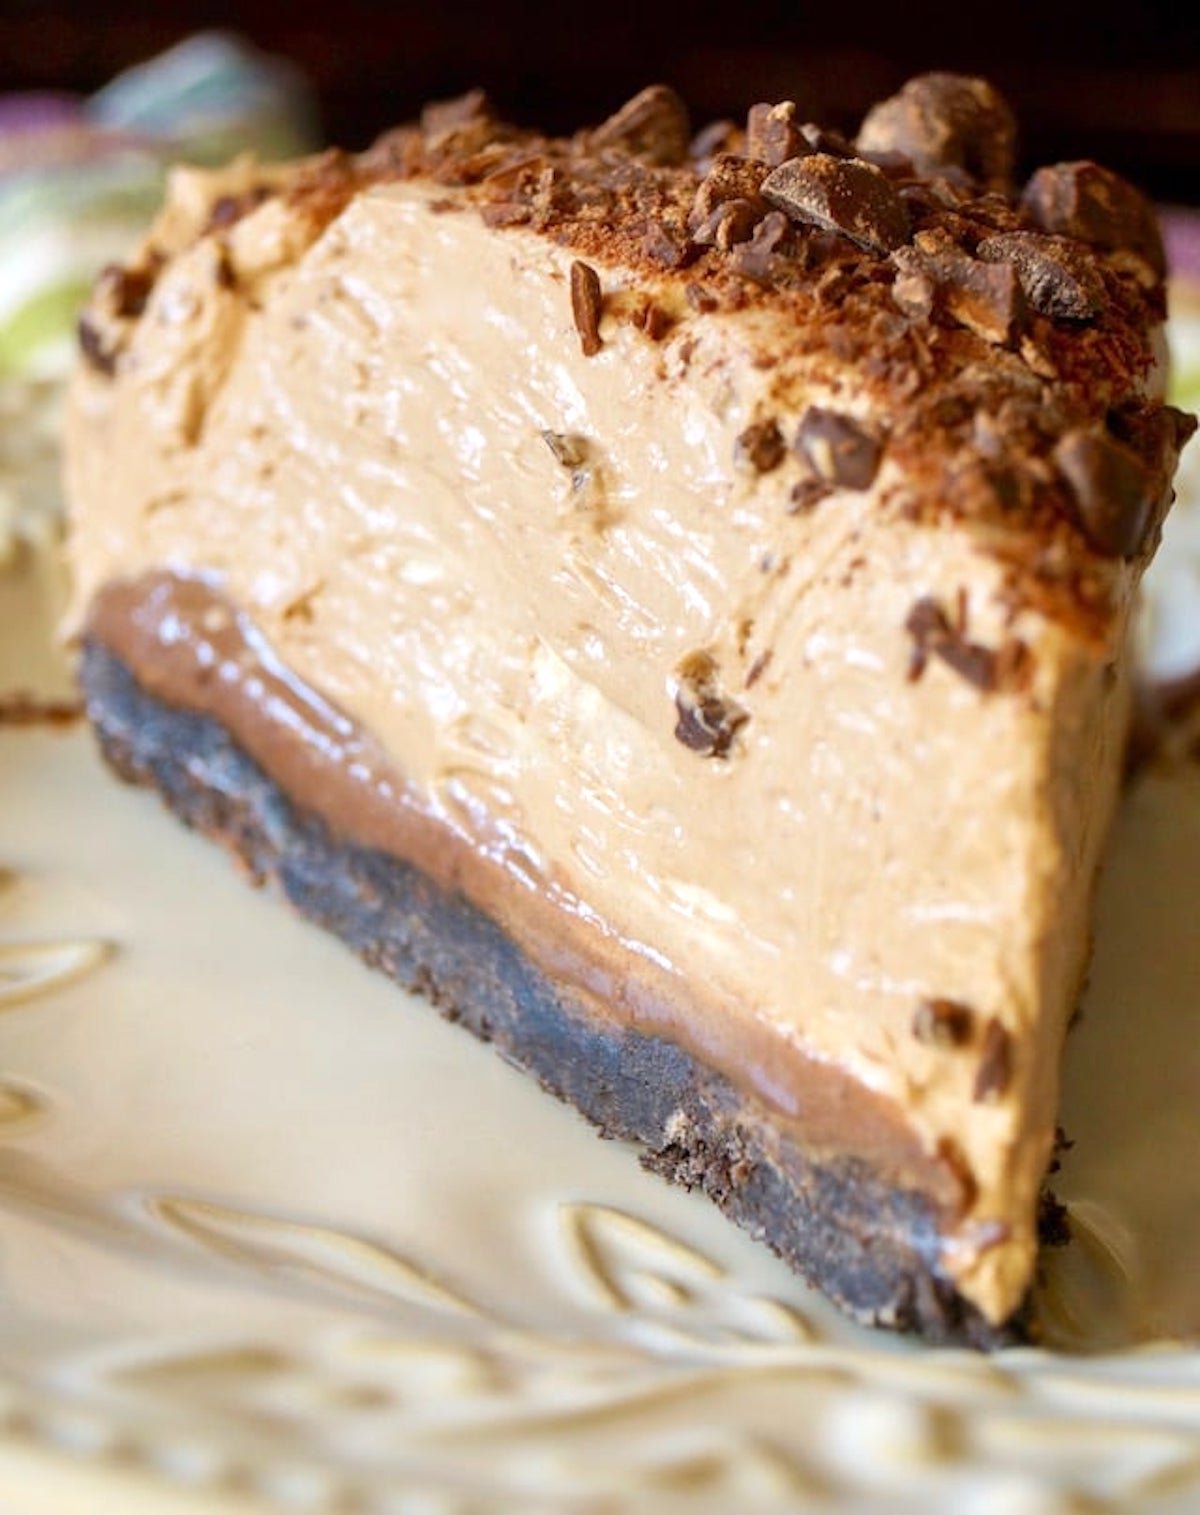
This cheesecake has an Espresso Oreo cookie crust, two fillings, and a chocolate top. The first filling is Ganache (see Key Ingredients below), and the second is a chocolate-espresso cream cheese mixture.
Not only is this coffee cheesecake no-bake, it's also a dessert that has to be made at least one day ahead of time. So the day your guests are coming, you have even less to do. Yay!
Notable Ingredients
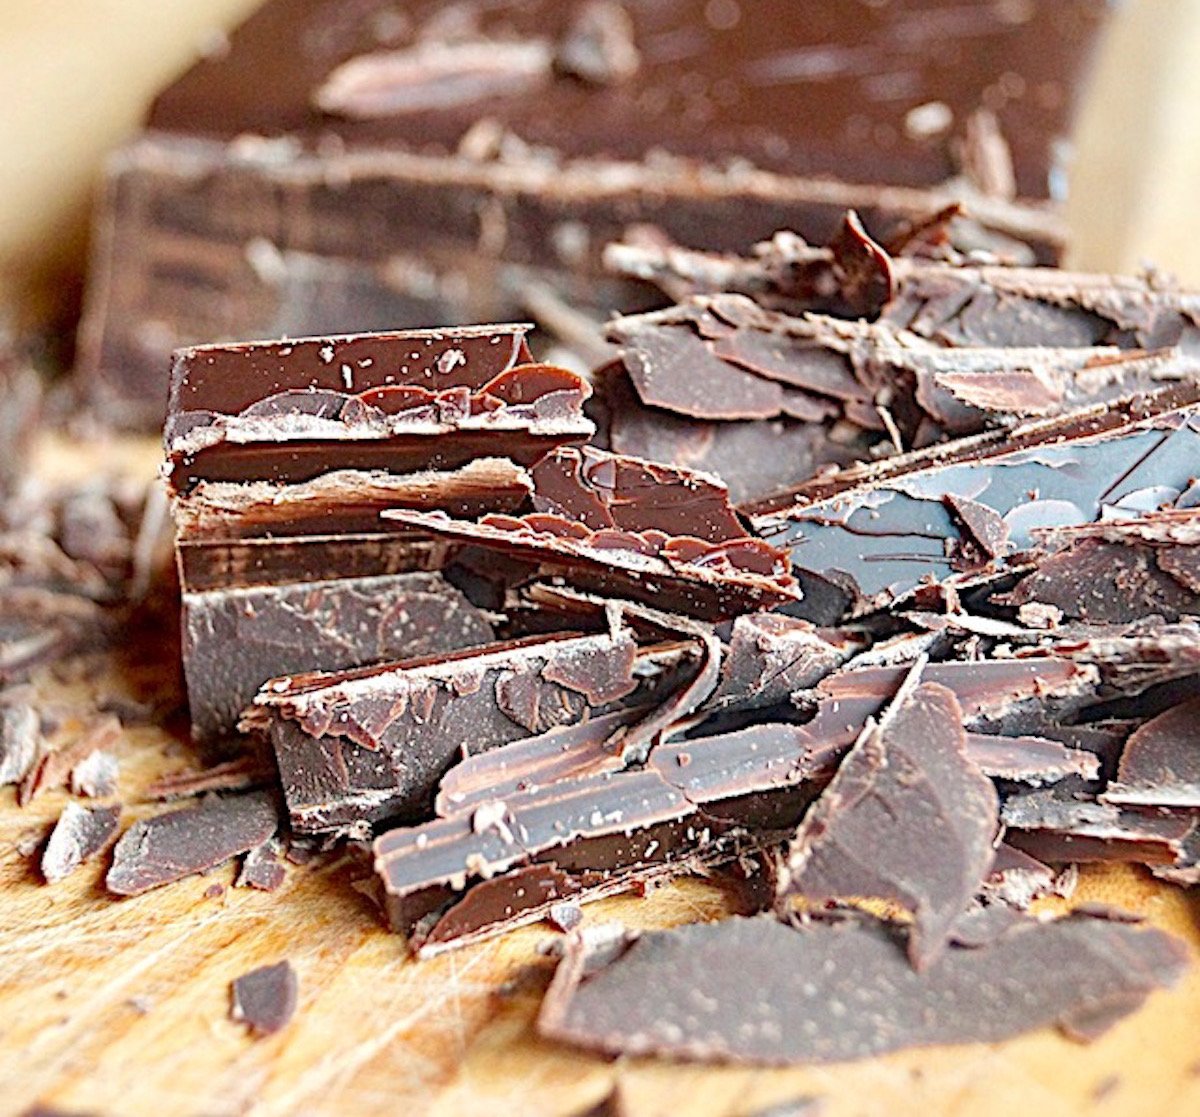
- Chocolate Ganache - (Read all about Ganache here.)
- Oreo cookies - The cookies are crushed and mixed with melted butter and espresso powder to make the crust. You can substitute regular Oreos with gluten-free Oreos if you need or want to, and they're just as good in the crust.
- instant espresso powder - I really like Medaglia D'Oro. I use it in almost all of my recipes with coffee and espresso, and it's easy to find.
- heavy whipping cream - This gets whipped into stiff peaks, which is a big part of what gives the cheesecake it's amazing texture.
- cream cheese - This cheesecake works best with a brick of cream cheese, not whipped. I use Philadelphia cream cheese bricks.
How to Make it
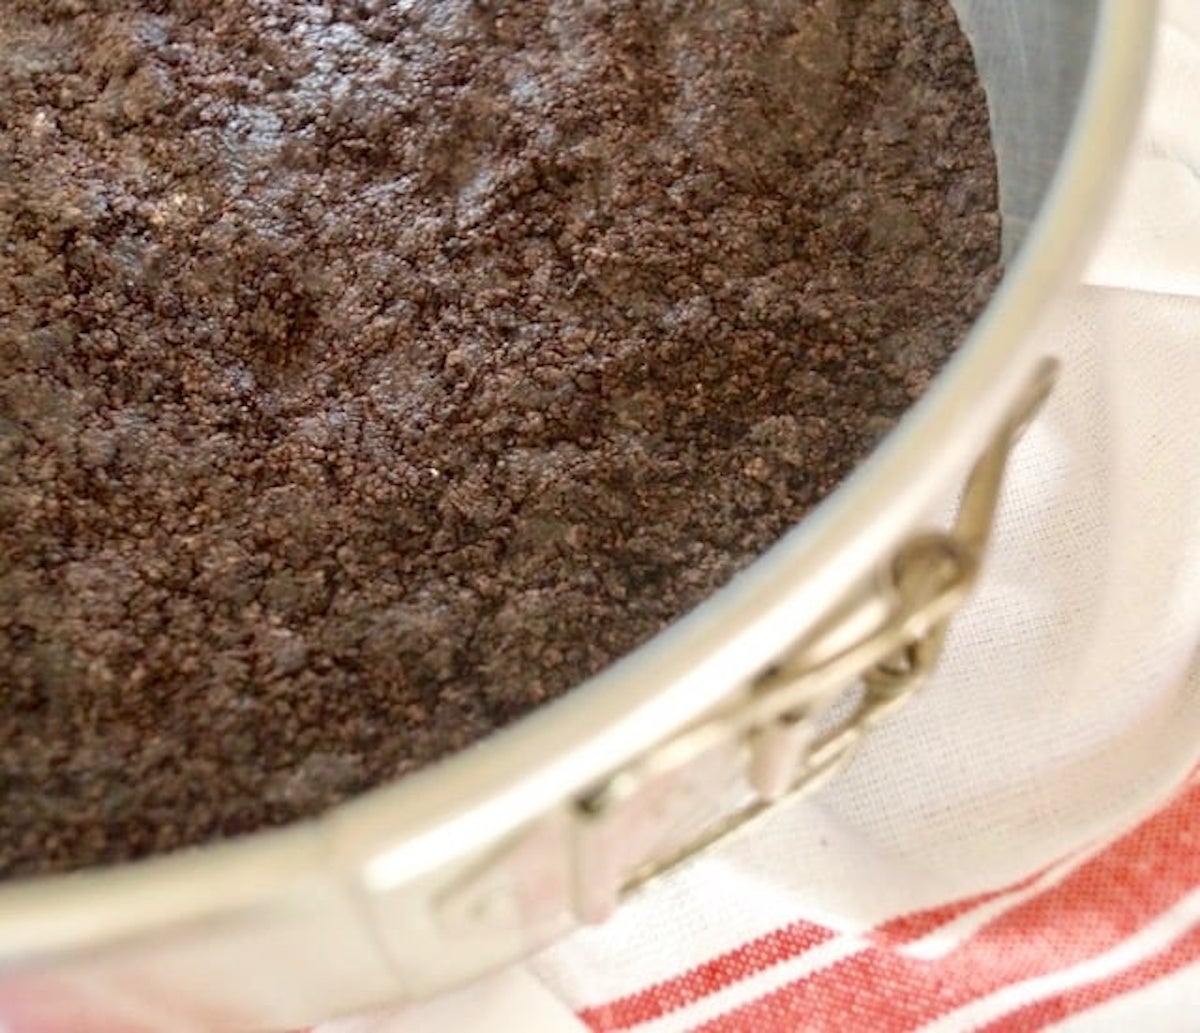
- Make the crust and press it into the pan.
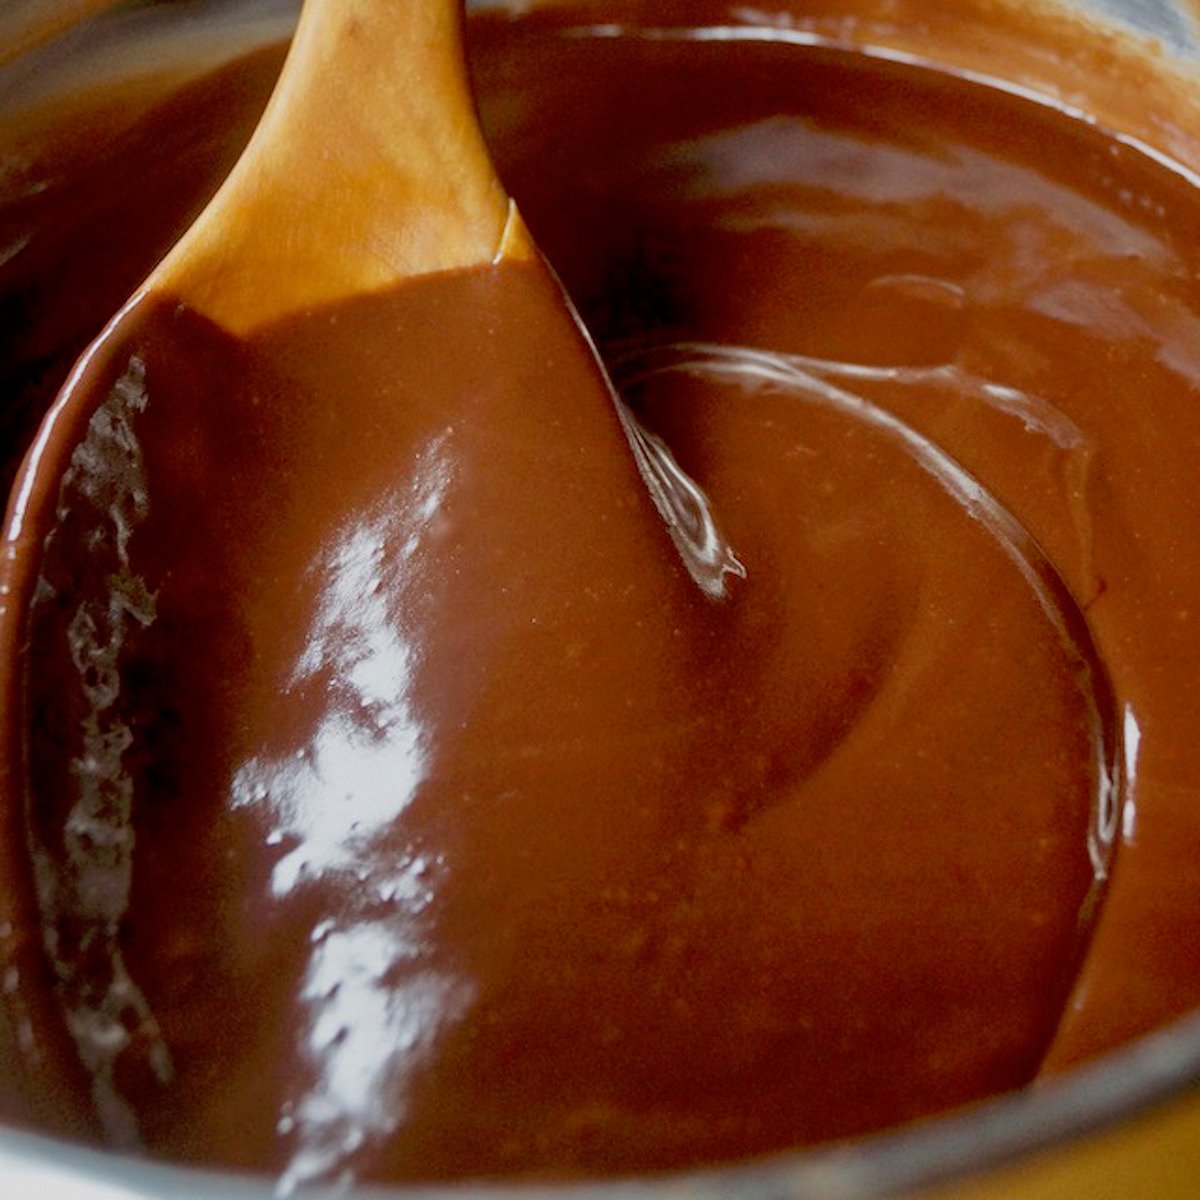
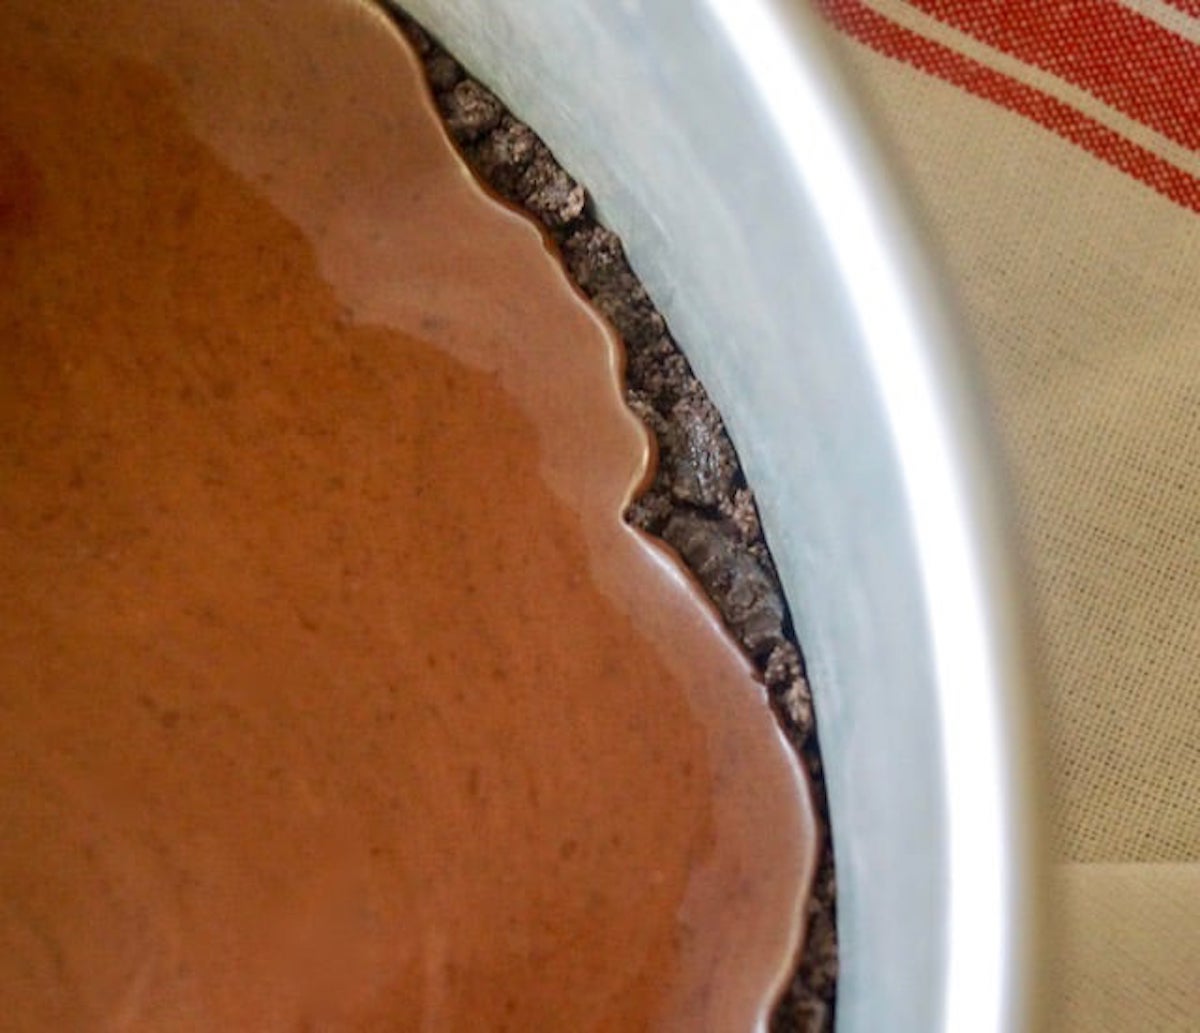
- Make the Ganache, pour it over the crust and let it set. Tip: It's important that the Ganache layer is completely set before you add the next filling. Otherwise it will spread up the sides of the cake. Still delicious, just not as pretty.
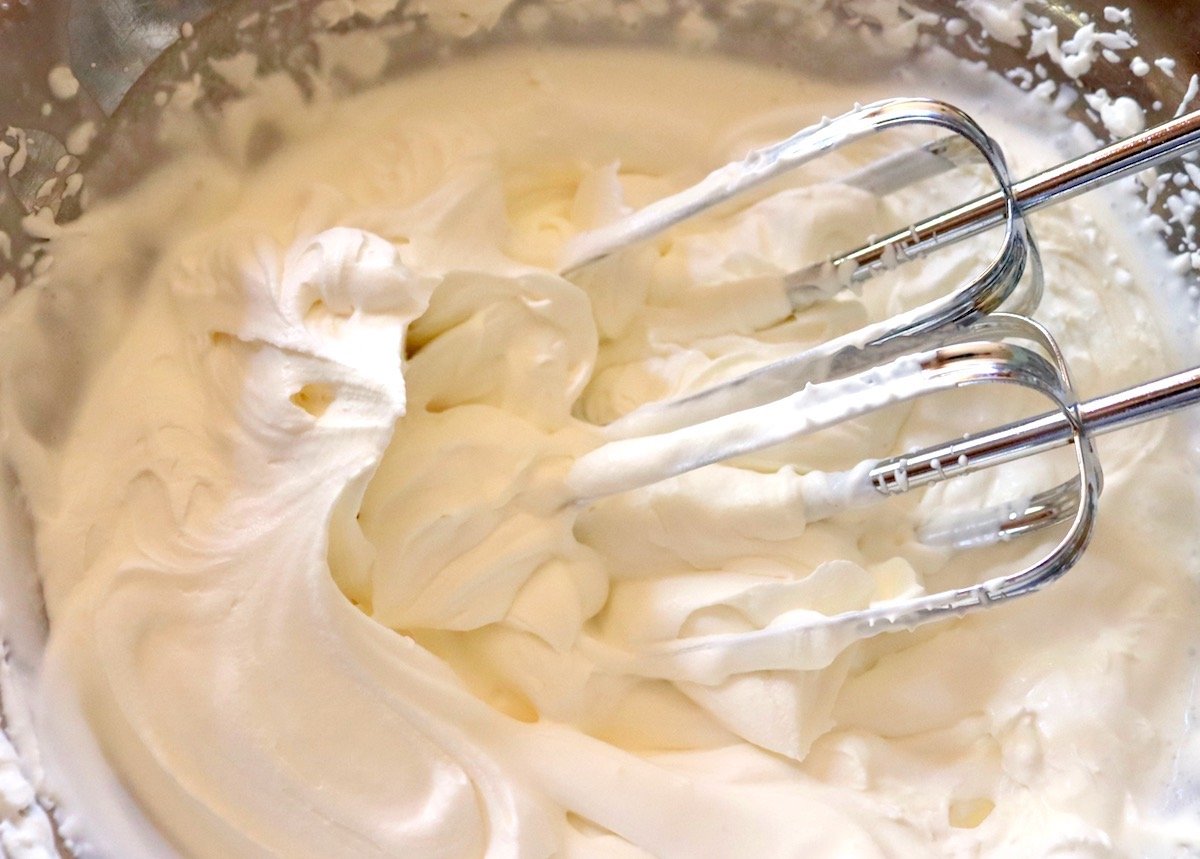
- Whip heavy cream into stiff peaks. Tip: Whip the cream until it's stiff, but not butter. There's a fine line here, but as soon as you lift the whisk and see peaks that aren't collapsing, you're there. This is partially what helps make a no-bake cheesecake firm.
- Blend the cream cheese with melted chocolate, espresso, vanilla and sugar. And take a moment to look at how luscious it looks!
- Fold the cream cheese mixture into the whipped cream until it's totally combined. Tip: When you're folding, do so as gently as possible. If you mix this vigorously, you'll loose a lot of the air you whipped into the cream.
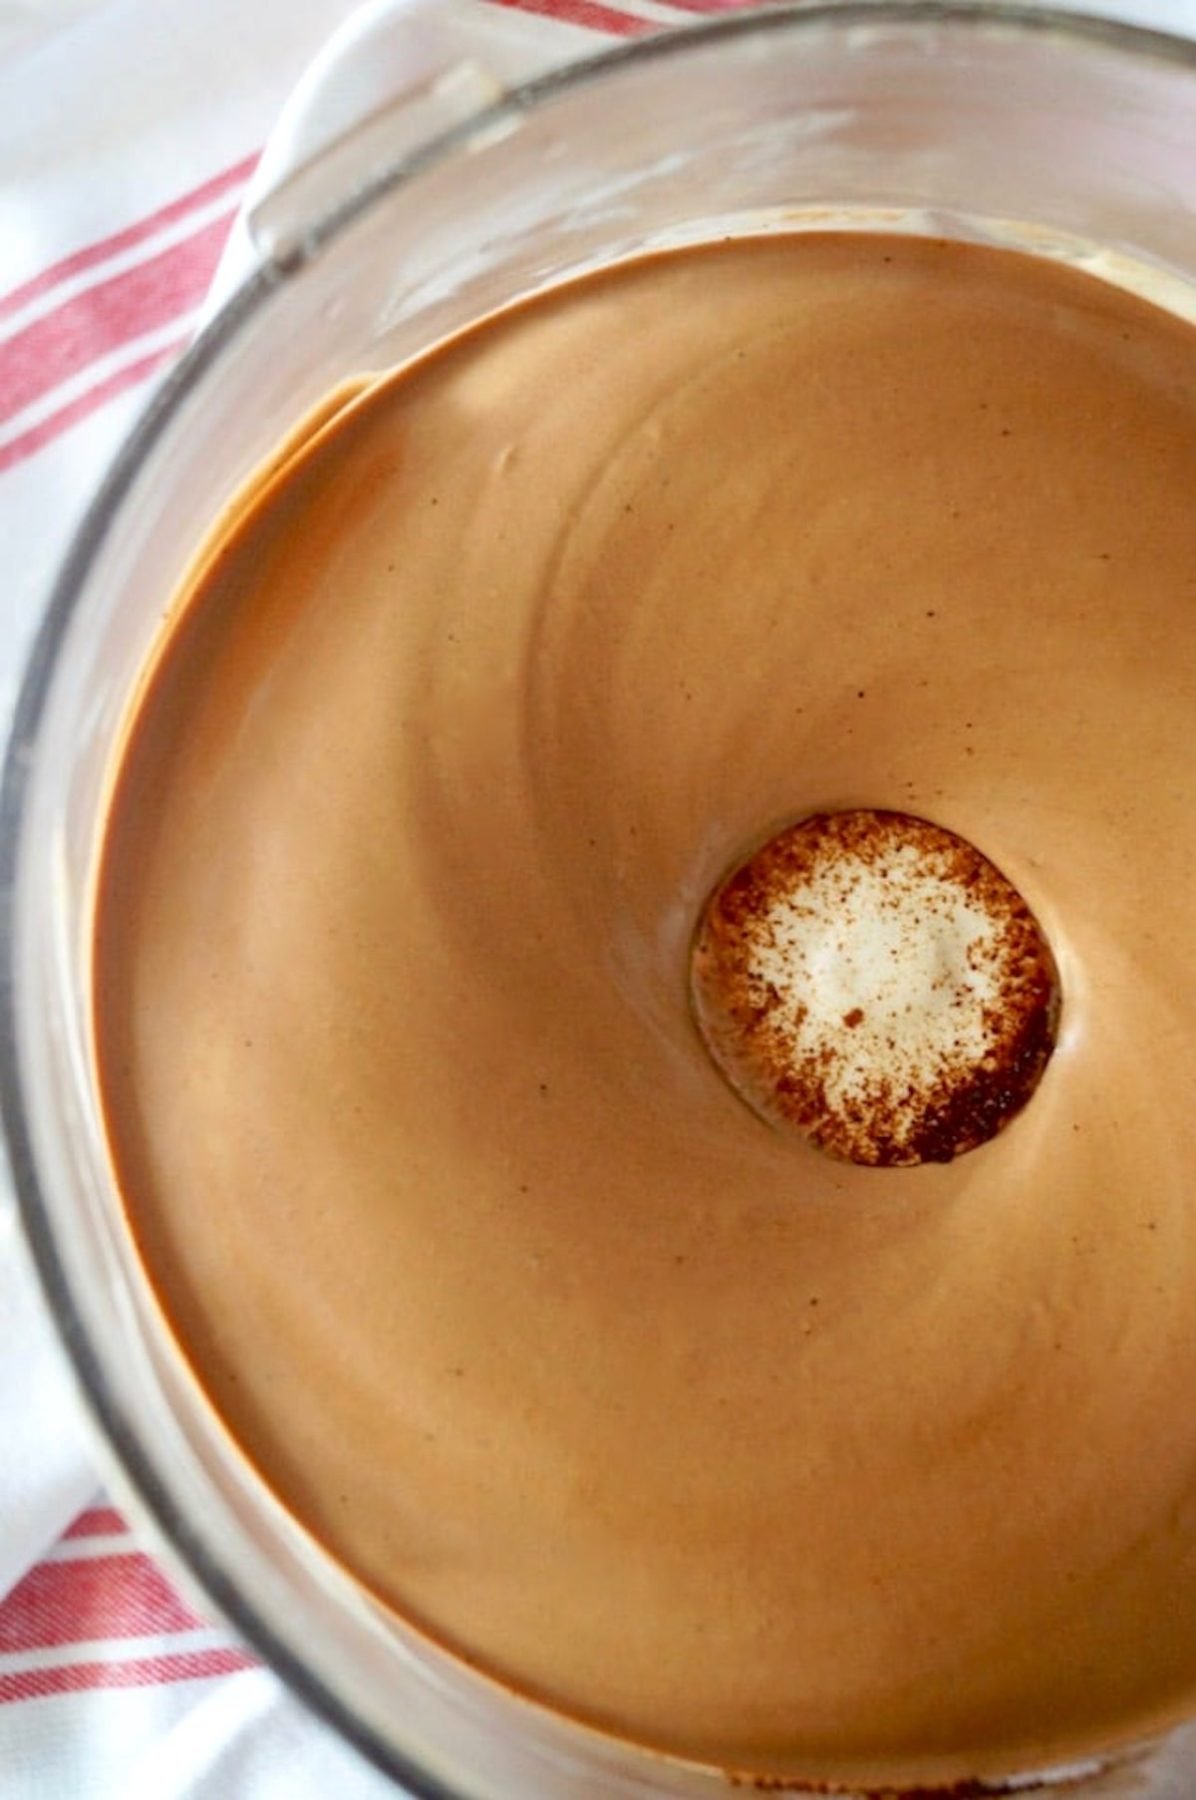
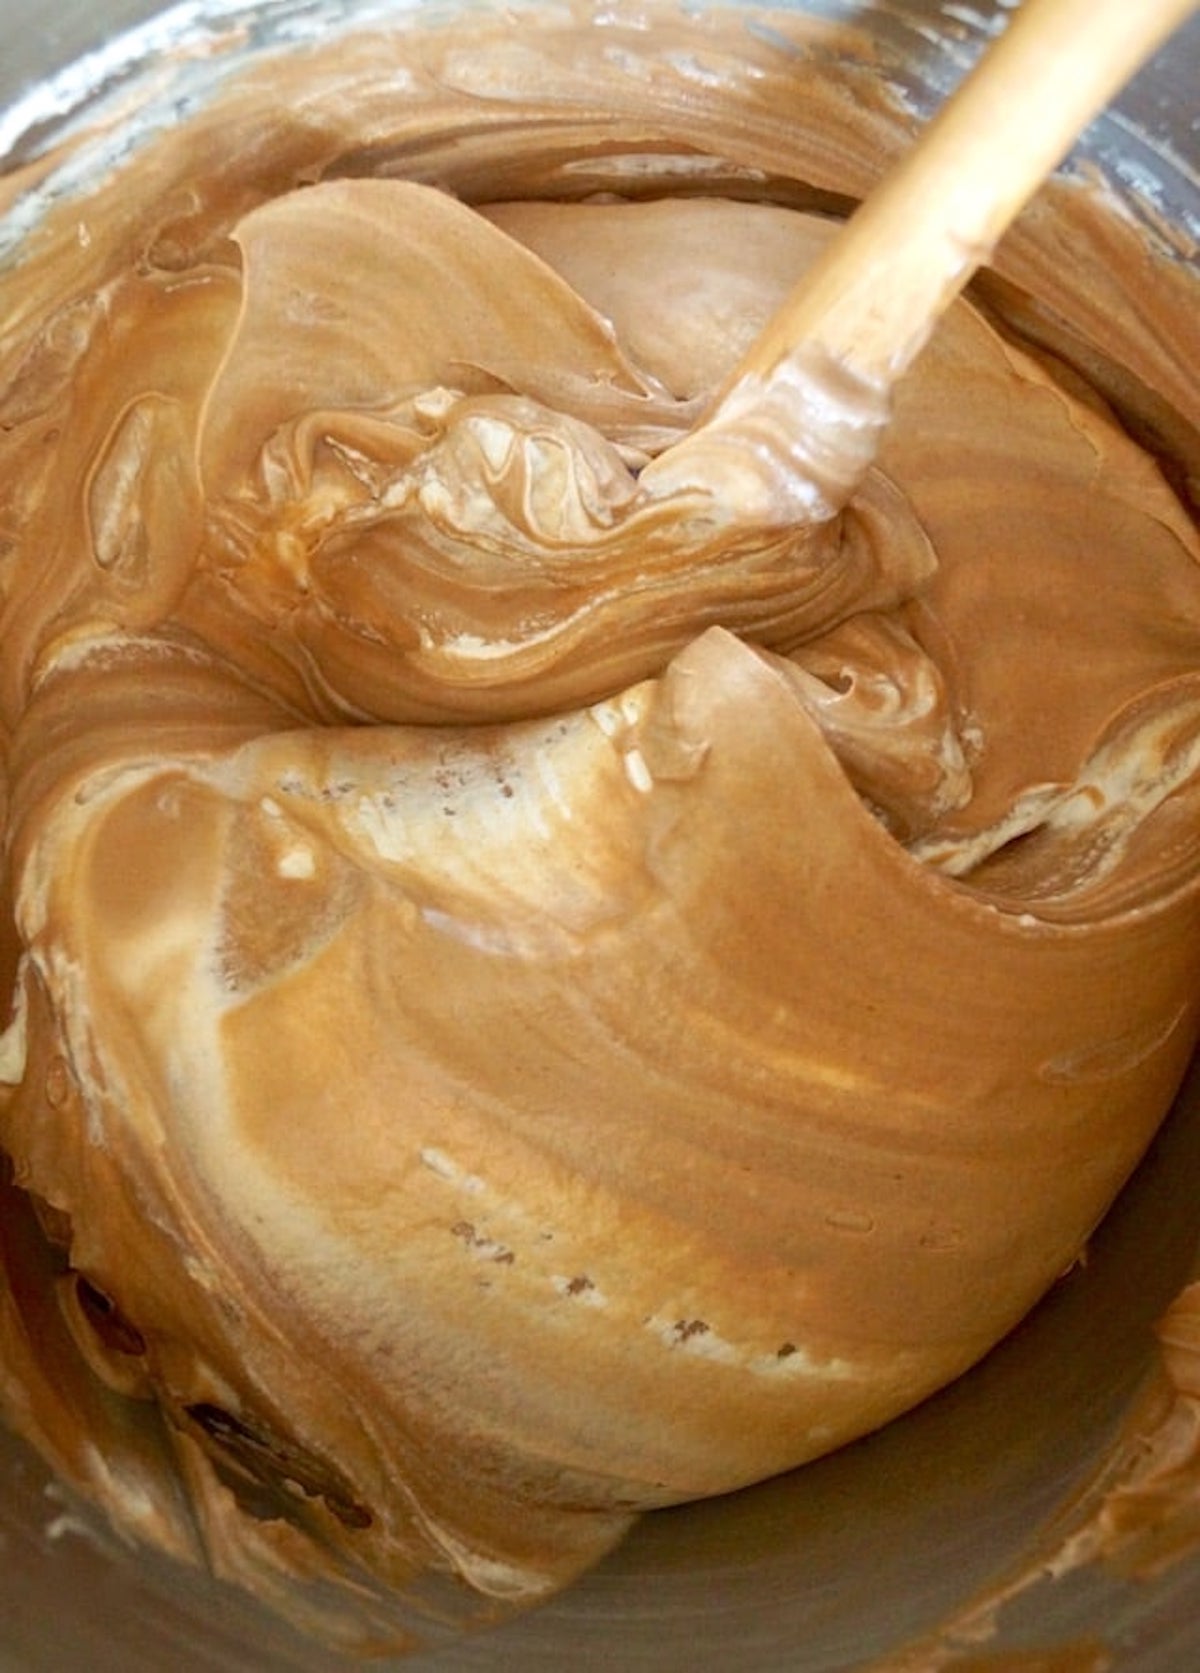
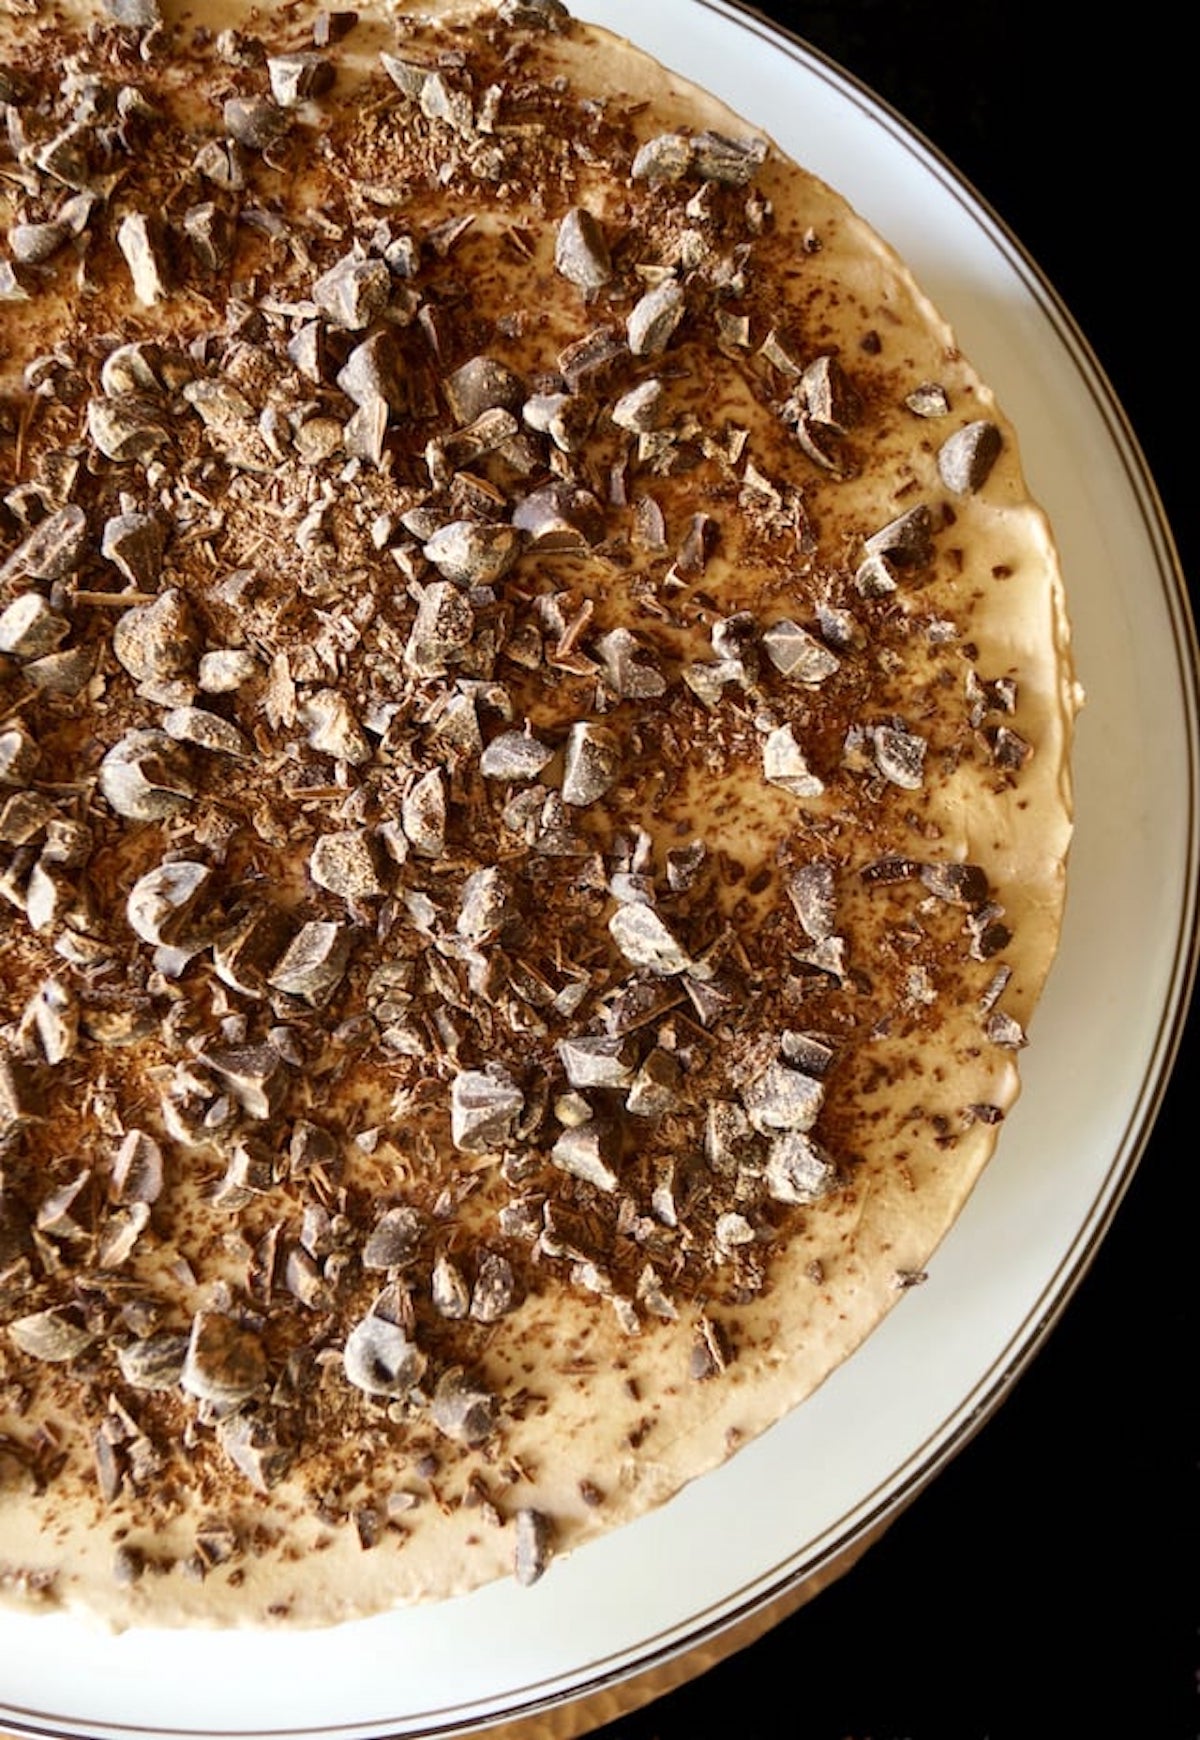
- Pour this into the prepared crust with the set Ganache, top with finely chopped chocolate and refrigerate overnight.
(More detailed instructions are below in the recipe card.)
Recipe Tips
- Before opening the spring from the pan, run a dull knife along the edges to be sure it will loosen evenly.
- I recommend using a food processor fitted with the blade attachment for both the cookies and the initial part of the filling ingredients.
- If you mix this vigorously, you'll loose a lot of the air you whipped into the cream. If when you release the ring from the pan, the Ganache looks as if it's oozing a bit out of the sides, just smooth the edges with a spreading knife.
Can you make it ahead?
Yes! And you must. Espresso cheesecake should be make at least one day ahead of time. And it can be made up to 3 days ahead. It should kept in the sprigform pan, which should be covered tightly with plastic wrap, which should not be touching the top surface.
Can you freeze it?
Even more good news about this dessert . . .
- If you want to make it more than a few days ahead of time, or just save leftovers, it freezes beautifully!
- If you're freezing it once it's out of the springform pan, to keep the top surface pretty, stick a few toothpicks in the top and wrap it with plastic wrap gently. This way, the plastic will rest on the toothpicks and not the cake.
Other Amazing Cheesecake Recipes
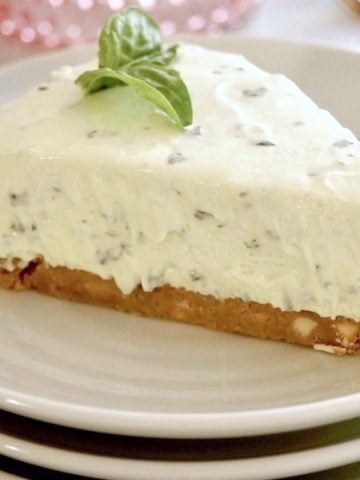
- Sweet Basil Cheesecake
- Passion Fruit Cheesecake
- Tangerine Cheesecake with Ojai Pixies
- Peach Cheesecake with Almond Crust
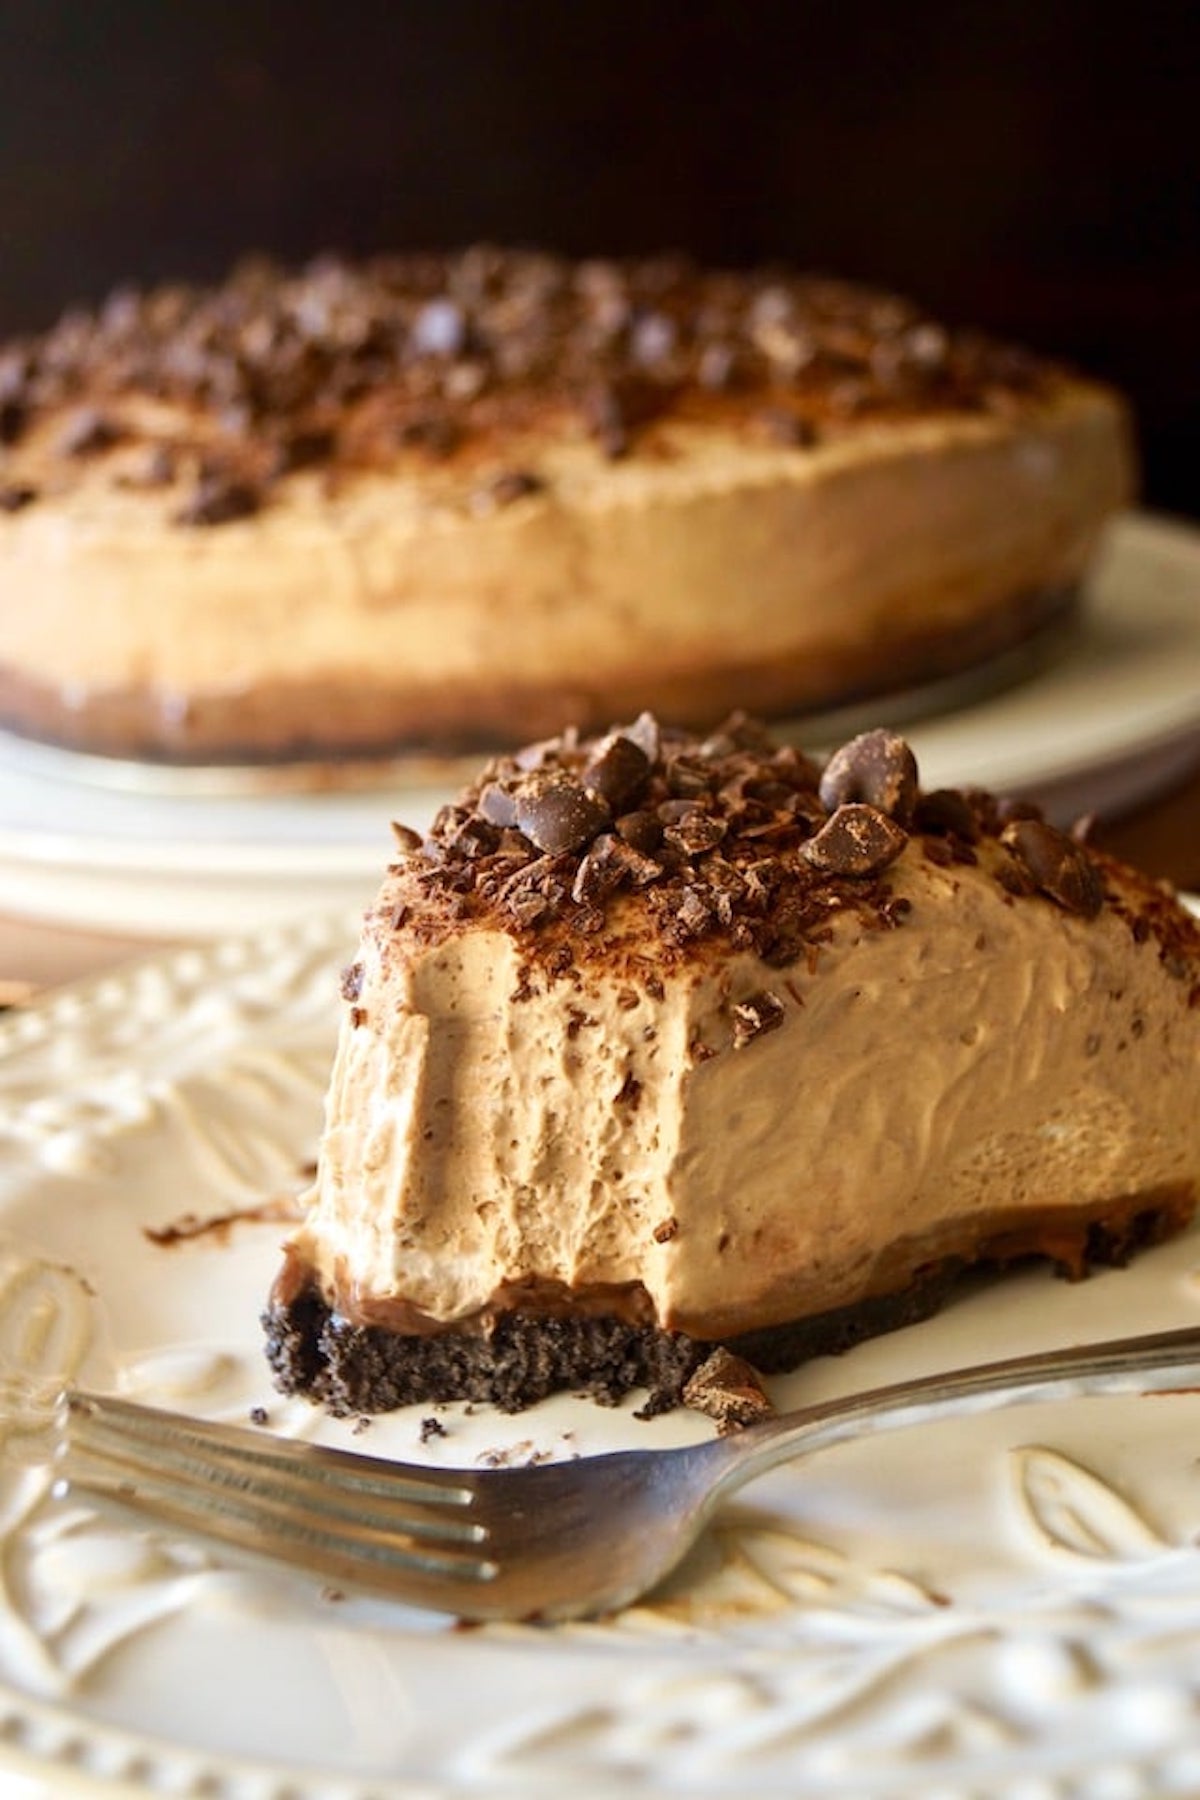
I hope you love every last delectable bite of this Espresso Cheesecake recipe, and I hope it becomes one of your favorite desserts, as it is one of mine.
Espresso Cheesecake Recipe (No-Bake)
Ingredients
Crust
- 2 cups Oreo cookie crumbs (about 20 Oreos)
- ¼ cup unsalted butter, melted
- 2 tablespoons instant espresso powder
Filling: Layer 1
- 1 cup semisweet chocolate, finely chopped
- 1 cup heavy whipping cream
Filling: Layer 2
- 1½ cups semisweet chocolate, finely chopped, divided
- 2 tablespoons instant espresso powder
- 1¾ cups heavy whipping cream
- 4 (8-ounce) packages cream cheese, softened at room temperature
- 1½ tablespoons pure vanilla extract
- 1 cup powdered sugar
Instructions
Crust
- Use a food processor fitted with the blade attachment to grind the Oreos into a fine crumb.
- Pour the ground Oreos into a large mixing bowl and mix in the espresso powder and melted butter.
- Add this mixture to the bottom of a 9 X 3-inch springform pan, and use your hands to gently press it down firmly.
Filling: Layer 1
- Add the finely chopped chocolate to a small mixing bowl. In a small saucepan, scald the cream. Tiny bubbles will appear on the edges and it should be very hot, but not boiling. Pour the cream over the chocolate. Do not stir it yet – wait about 4 minutes and then, use a wooden spoon and stir to combine. It will take a few minutes of mixing before you see it come together. (This is Ganache.)
- Let it cool slightly and then pour it directly on the prepared crust. Place the springform pan on a baking sheet in the refrigerator until this layer solidifies, at least 1 hour. (You want it totally firm.)
Filling: Layer 2
- Melt 1 cup of chocolate and mix in the espresso powder. Set aside to cool.
- Use an electric mixer or a stand mixer fitted with the whisk attachment, to whip the cream into stiff peaks. This will take about 2 minutes. Set aside.
- Add the cream cheese to a food processor fitted with the blade attachment, or a bowl with an electric mixer. Blend for about 30 seconds. Then add the vanilla and powdered sugar, and blend until it's velvety smooth. Use a rubber spatula to scrape in all of the chocolate-espresso mixture. Mix to blend.
- Fold the whipped cream into the cream cheese mixture just until it’s combined.
- Once it's been an hour, remove crust from the refrigerator and pour in the filling. Smooth the top and cover with plastic wrap. Refrigerate overnight (at least 12 hours.)
- Use a knife to loosen the chilled cheesecake from the rim of the springform pan, then remove the rim. Sprinkle the top with the remaining ½ cup of chocolate. Slice and serve.
NOTES
NUTRITION
Cooking On The Weekends is a participant in the Amazon Services LLC Associates Program, an affiliate advertising program designed to provide a means for sites to earn advertising fees by advertising and linking to Amazon.com.

priya
No bake is my kinda dessert...
valentina
Thanks! Hope you try it. 🙂 ~Valentina
Christina Conte
Genius, Valentina! I'm sure it's not too sweet, either! Love this idea and the make ahead plan is perfect for summer entertaining! Love, love, love!
valentina
Thank you, my friend! Yes, I love having a dessert totally ready the day of a party. 🙂 ~Valentina
Marissa
This looks incredible, Valentina! So creamy and chocolaty! Love that there is no oven needed and that it can be (needs to be) made in advance - perfect for these hot summer days.
valentina
Marissa, thank you. I hope you try it and love every bite. 🙂 ~Valentina
2pots2cook
So into everything made with coffee and no bake 🙂 Love it ! Thank you so much !
valentina
Coffee one of my top favorite flavors int he world. Happy you love it, too. 🙂 Enjoy and thank you! ~Valentina
angiesrecipes
The cheesecake looks incredibly yummy with the combo of chocolate and coffee. A great summer treat.
valentina
Thank you, Angie! 🙂 Enjoy! ~Valentina
David Scott Allen
Looks absolutely gorgeous! I need to find an espresso replacement, though... in addition to my other personality flaw (no garlic), I don’t do anything with coffee! Will you still be my friend?
valentina
Ha! Yesssss! Friends. As long as you do chocolate, I think we're okay. 😉 ~Valentina
PM
I got so many compliments on this cake. Everyone thought it was from a bakery.
I am not a fan of oreo and thought it might be too sweet but it was just perfect. Thank you so much for the wonderful recipe
Nancy
It's a really good thing this cheesecake is not actually in front of me - because I could do severe damage to it! Coffee and chocolate are definitely a weakness of mine. Combined with a sweet creaminess - that's double trouble!!!
valentina
It's my favorite combination in the world, Nancy! And I do, do damage. 😉 Thank you for visiting. 😀 ~Valentina
Deb|EastofEdenCooking
Enjoying the no-bake, make-ahead recipe! This sweet treat would be a perfect dessert to take to this weekends BBQ.
valentina
Hope if you tried it, it was a hit. Thanks! 🙂 ~Valentina
Jeff the Chef
I haven't had a no-bake cheesecake in a long time. My grandma used to make one on my birthday. I love the addition of ganache to this one! I'll bet it's fantastic!
valentina
Thanks, Jeff. Hope you try it for your birthday, then. 😉 Enjoy! ~Valentina
Liz
I gave up drinking coffee years ago, but I adore coffee desserts, especially cheesecake! This no-bake cheesecake looks exquisite!!!
valentina
Liz, this is a good way to get a little coffee without the drink.;-) I'm on overload because I have both at once. Ha! Enjoy and thank you! 🙂 ~Valentina
David @ Spiced
You are talking my kind of language with this cheesecake, Valentina! First of all, cheesecake. Second of all, chocolate. Third of all, coffee. I love coffee desserts, so I would be all about this one! Also, that's a cool idea to put the ganache down before adding the filling. Sign me up for a slice or three!
valentina
Thanks, David. I was actually thinking the ganache would be just as good on top, too. Instead of the bottom -- or perhaps even both! 😉 Enjoy! ~Valentina
PM
Hi,
Planning to make this recipe. Just a slight confusion is it 4 packages of 8 ounces each of cream cheese (32 ounces) or 4 packages which altogether weigh 8 ounces?
Thanks
valentina
Hi and thanks for writing in. You want 32 ounces total. So yes, it's 4 packages of 8 ounces each. Sorry if it wasn't more clear. I hope you love it!! 🙂 ~Valentina
Mel
I love no bake cheesecakes. I made this recipe for my cousins birthday. She loves cheesecake and coffee so I thought it would be perfect. This was so ridiculously good. Everyone LOVED it!!! The recipe was so easy! Highly recommend if you love coffee/mocha flavour.
valentina
Hi Mel, I so appreciate your note, and I'm so happy it was a hit. Happy Thanksgiving! 🙂 ~Valentina
Elisabeth VS
This was delicious!
Unfortunaltely mine did not set properly and was super runny the following day. Luckily I had made it 2 days in advance at tried to save it by pouring out the cream cheese topping in a bowl and adding gelatin dissolved in a bit of coffee. I crossed my fingers and let it set for another 24 hrs. It almost worked. When the ring was released it was oozing a bit, but I was able to cut actual slices.
I'm not sure where I went wrong. Perhaps my cream wasn't stiff enough. It did hold peaks, but maybe I should have beaten it some more.
Definitely will make this again! Everyone loved it.
Valentina
Hi Elisabeth, I'm happy you loved this, but I'm so sorry it didn't work out as expected,and that you had to try to fix it and hope for the best. I know that must have been frustrating. I don't think it's related to the amount of fat in your cream because both 38% and 48% should work. I haven't had this problem with this filling before, but I'll make a small batch of it asap to troubleshoot what could've happened and will get back to you. ~Valentina
Valentina
Hi Elisabeth, I had a chance to test this this morning to see if I could troubleshoot a bit. As I was making the filling, I came up with a few thoughts . . . 1) Are you using whipped cream cheese or blocks? Use the 8-ounce blocks for sure. 2) Did you divide the chocolate? 1 cup for the filling and the other 1/2 cup for the top of the cake? If not, this could be an issue. And of course be sure the heavy cream is whipped to stiff peaks, which I know you did. As a final thought -- and it's a stretch -- is it possible you refrigerator isn't as cold as it should be? I know this is highly unlikely, but just covering every possibility. I hope this helps! 🙂 ~Valentina