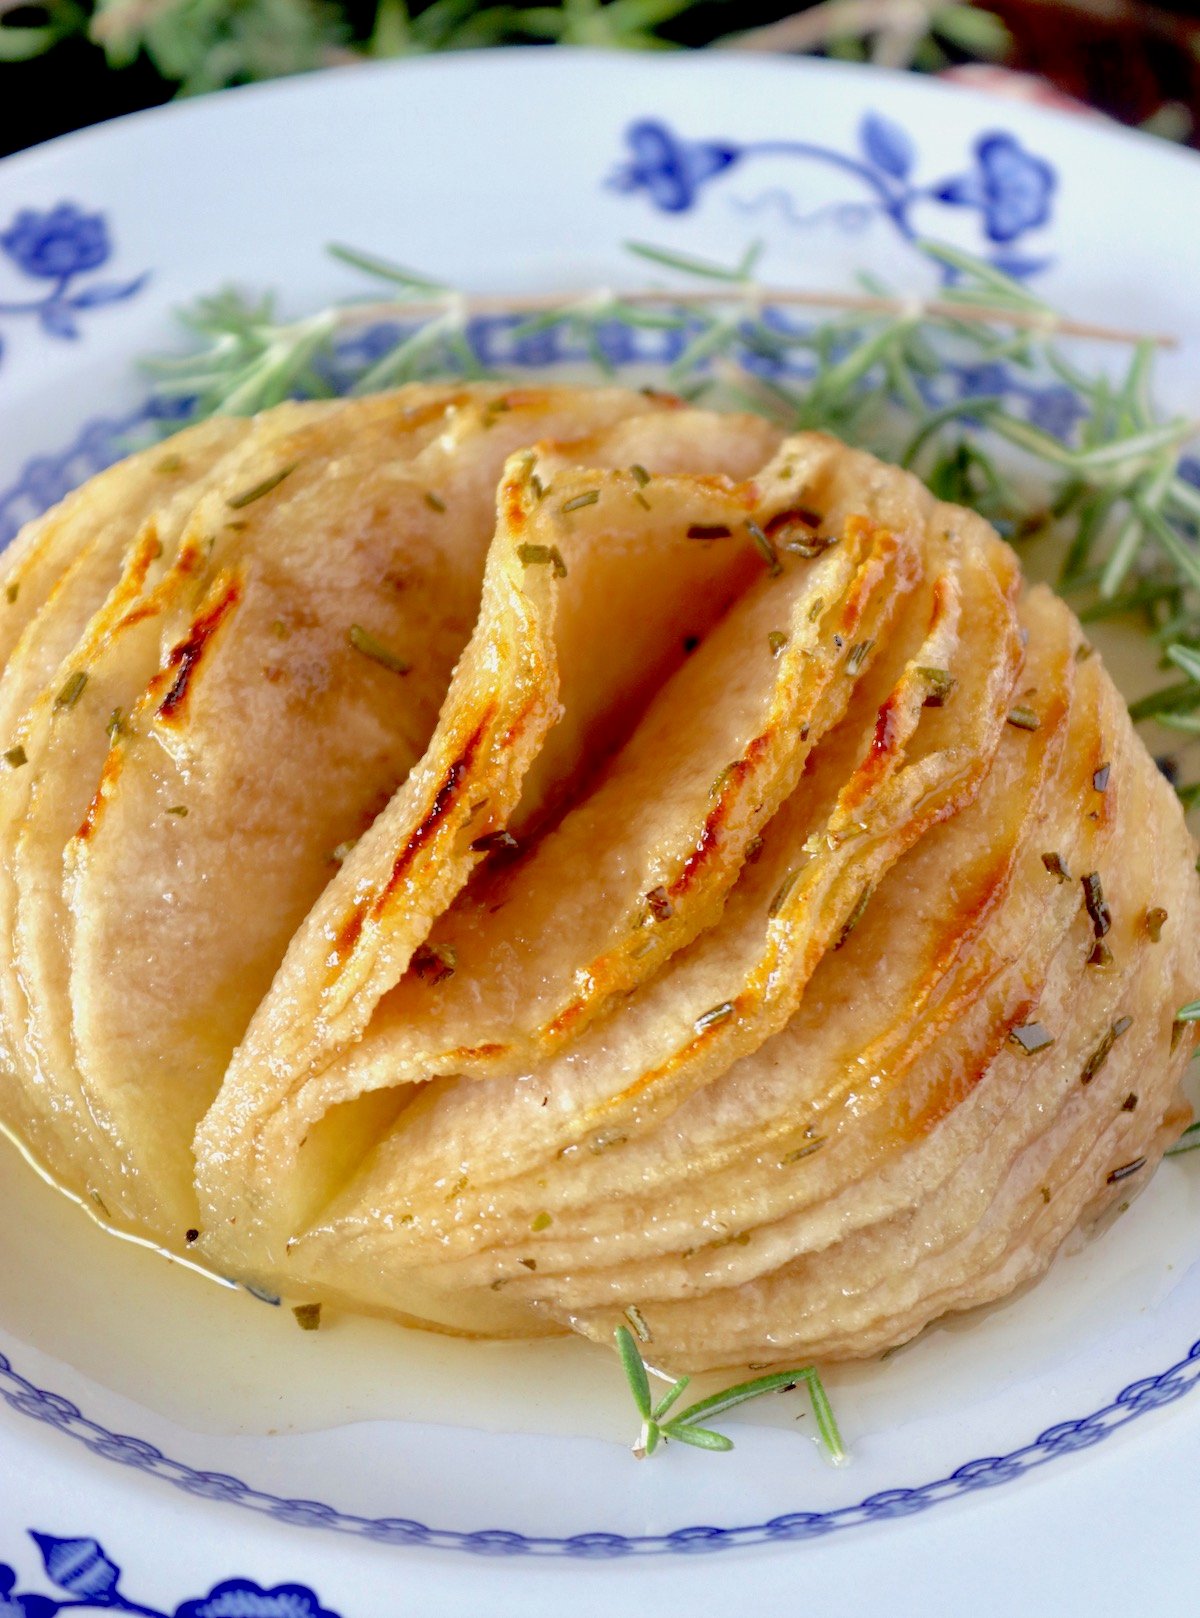
This Asian pear dessert recipe is as delicious as it is pretty. Slow roasted in rosemary simple syrup, the Hasselback pears turn super tender and soak up all those sweet, earthy flavors. They're brilliant for Thanksgiving, holiday entertaining, or any dinner party during the fall and winter months.
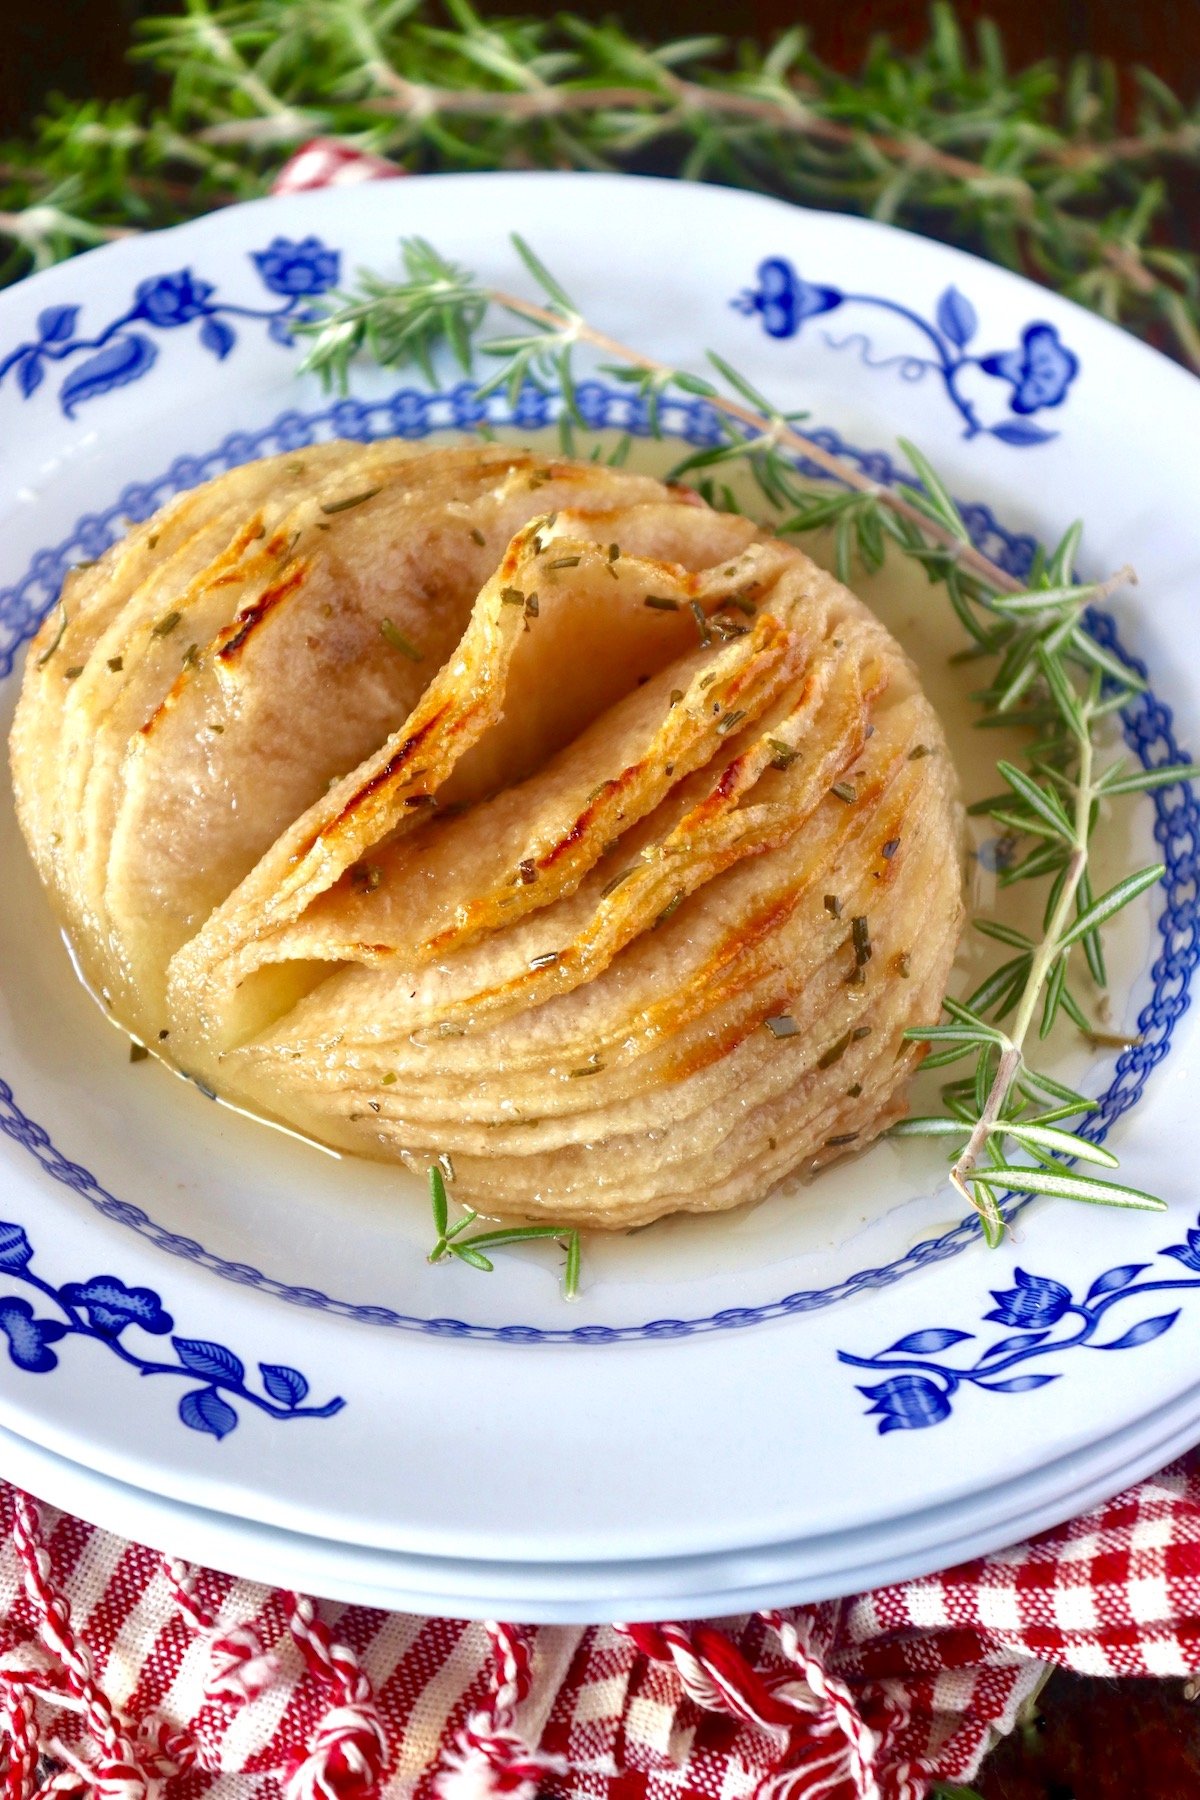
Have you ever had a Hasselback potato? It's sliced into lots of thin slices that stop just short of cutting all the way through, so it fans open in the oven. Potatoes have inspired many recipes for me, and one day I looked at a big, round Asian pear and thought it would look beautiful in Hasselback form.
Who knew a potato would inspire one of my Asian pear recipes!?
This impressive pear dessert is actually quite easy to make. The rosemary syrup only takes a few minutes, and once the pears are prepped, most of the work is done.
Because of their size and texture, Asian pears lend themselves to the Hasselback technique, and they make for a really gorgeous, delicious and simple fall dessert when you roast them in Rosemary syrup.
What are Asian Pears?
- Asian pears are also called Sand pears, Apple pears, Nashi pears, Chinese pears, Japanese pears, Japanese Apple pears, and Korean pears.
- They're grown with extreme care, and the result is a very clean, blemish-free fruit.
- Unlike Western pears, Asian pears are very round and large.
- They're firm pears with light, brownish-yellow, speckled skin, which is where the name Sand pears comes from. The interior is bright white.
- What do they taste like? Asian pears are crisp, crunchy, juicy and sweet, with a subtle honey flavor. Think the crunch of a very crisp apple with the juiciness of a pear, hence the Apple pear nickname.
- When are they in season? Asian pears are in season from approximately October through March.
How to Choose and Store Asian Pears
- Pick firm pears. Look for pears that feel heavy for their size, with no soft spots or bruises. A little speckling on the skin is totally normal.
- Don't wait for them to soften. Unlike Bartlett or Anjou pears, Asian pears are ready to eat when you buy them, and they stay crisp. If you leave one on the counter waiting for it to get soft and juicy, you'll be waiting a long, long time. 😉
- Keep them in the fridge. Stored in the refrigerator, uncut, they can stay fresh and crunchy for many weeks, typically up to a couple months.
- Handle them gently. As firm as they are, Asian pears bruise easily. That's why they usually come wrapped in those little foam nets.
- Can you eat the skin? Yes. It's a bit thicker than the skin on other pears, however, so I like to peel them for cooking, like in this recipe.
The Ingredients
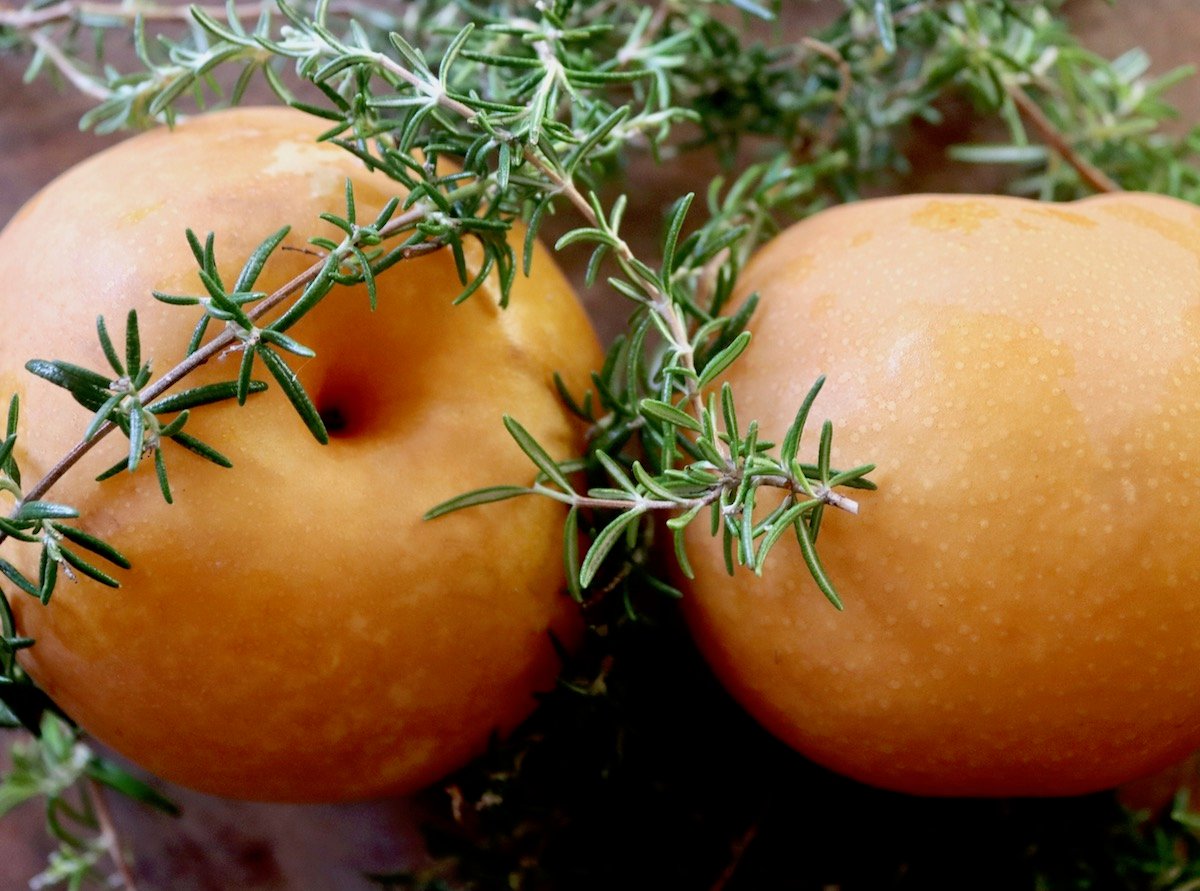
- Asian pears - Choose firm pears with no soft spots. (More on choosing and storing them above.) Substitutions: If you'd like to use another pear variety, Bosc is the best choice, as they are very firm and tend to hold their shape well when cooked.
- fresh rosemary - If rosemary isn't growing in your yard, it likely is in a neighbor's. Otherwise it should be available year round in all markets. Look for perky bunches that are not too stiff, with soft stems.
- granulated sugar
- water
- pure vanilla extract - I like this one. Substitution: You can use a vanilla pod instead of the extract if you'd like. Use paring knife to slice one pod in half, lengthwise, and then use the back of it to scrape the vanilla beans, from both halves, into the saucepan with the water and sugar.
- lemon juice - I always use Meyer lemons over regular lemons when given the option. Meyer lemons are a touch less tart and a touch sweeter. And with a thinner skin and fewer seeds, they are incredibly juicy. Substitutions: If you don't have lemon juice, grapefruit juice or orange juice are good substitutes.
(See recipe card below for quantities.)
How to Make Them
- Preheat the oven to 400°F, adjust a rack to the center of the oven, and line an approximately 8 x 8-inch baking pan with parchment paper.
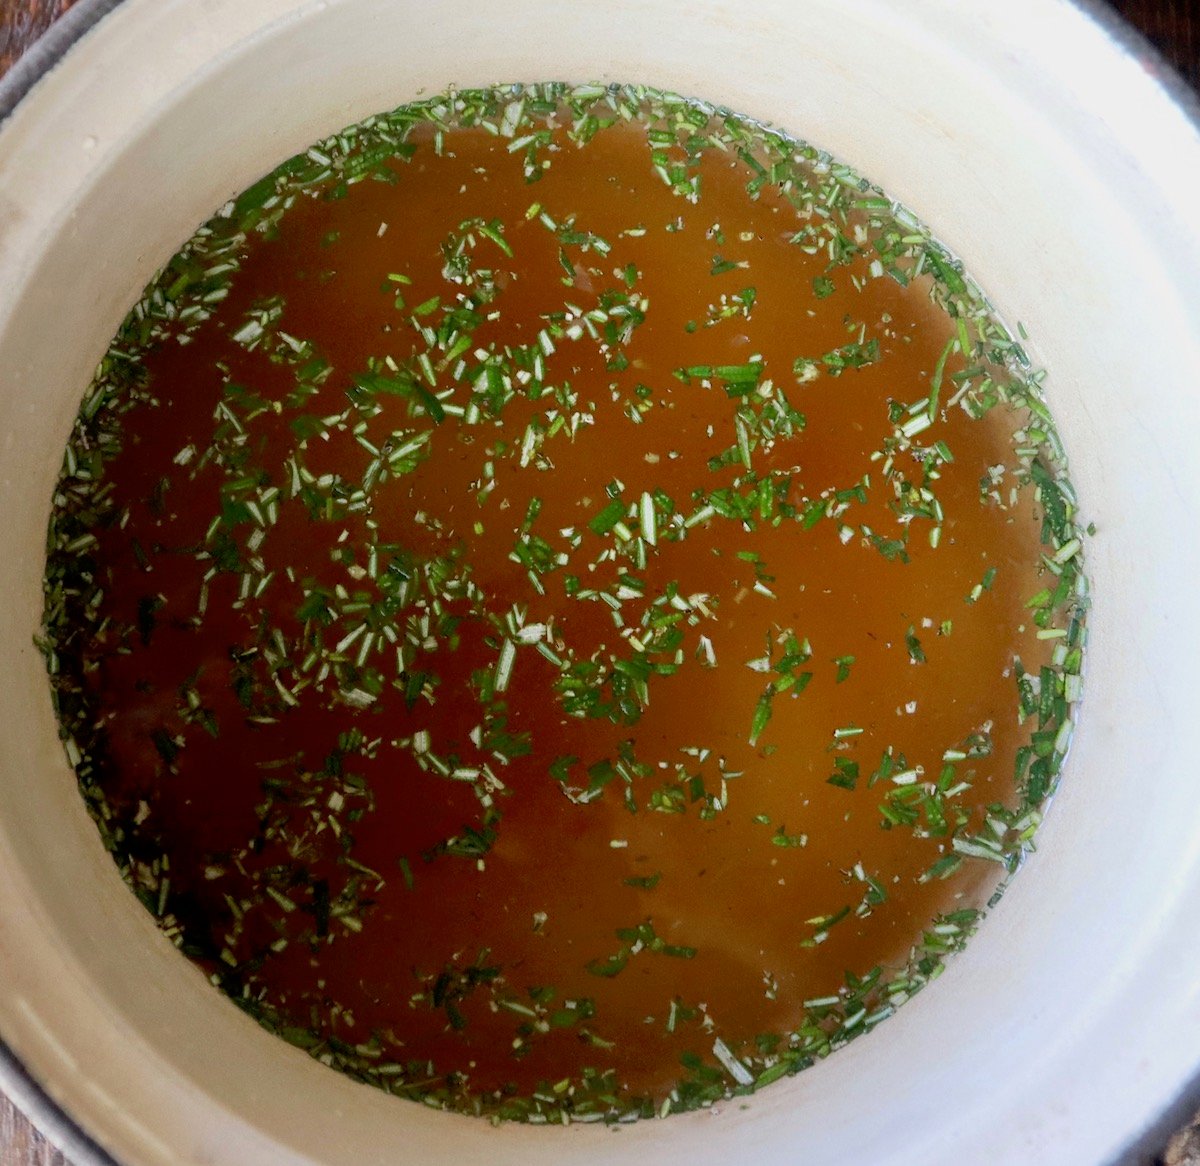
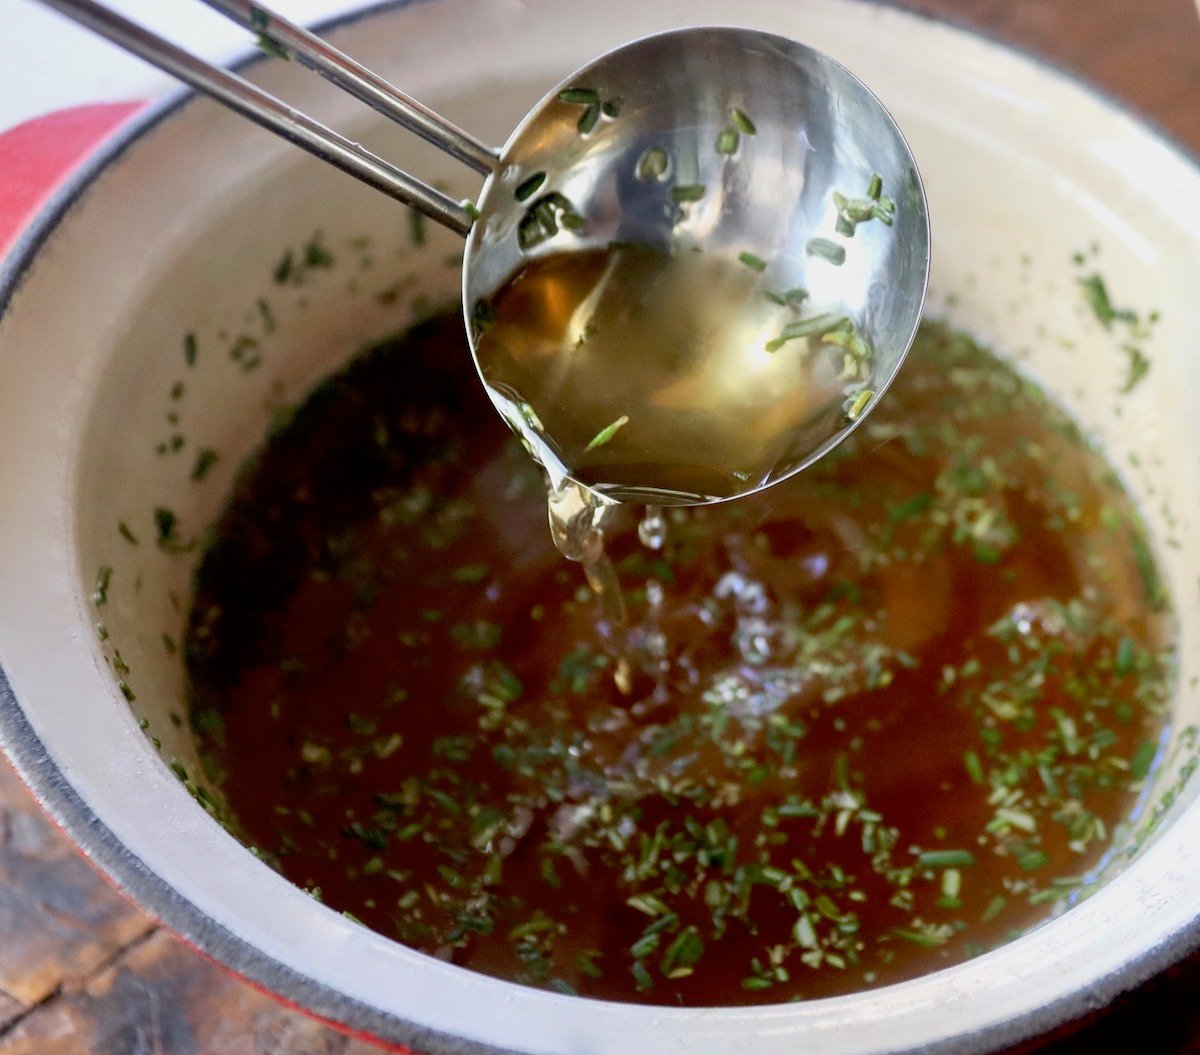
- In a small saucepan combine the water, sugar, lemon juice, rosemary and vanilla. Bring to a boil and then turn off the heat. Stir to ensure all of the sugar has dissolved.
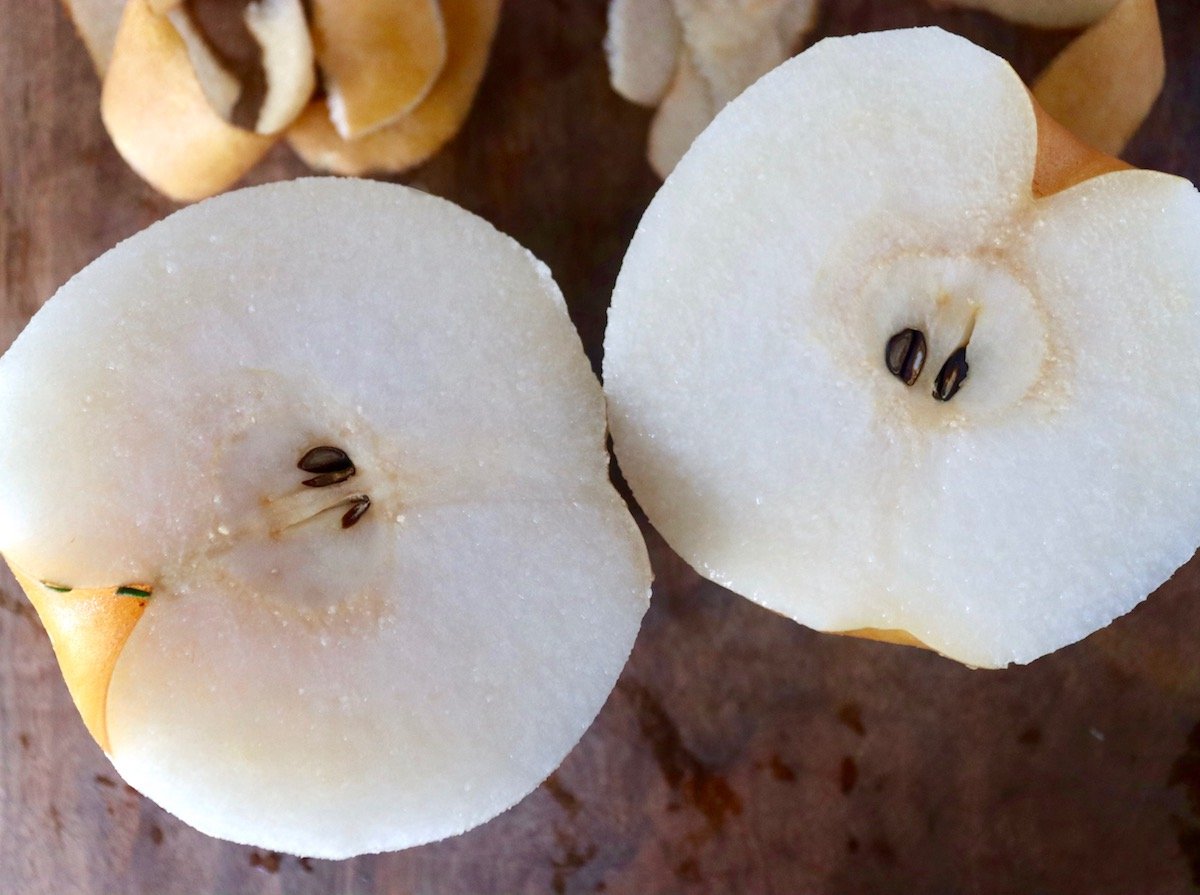
- Peel the pears and then cut them in half, lengthwise.

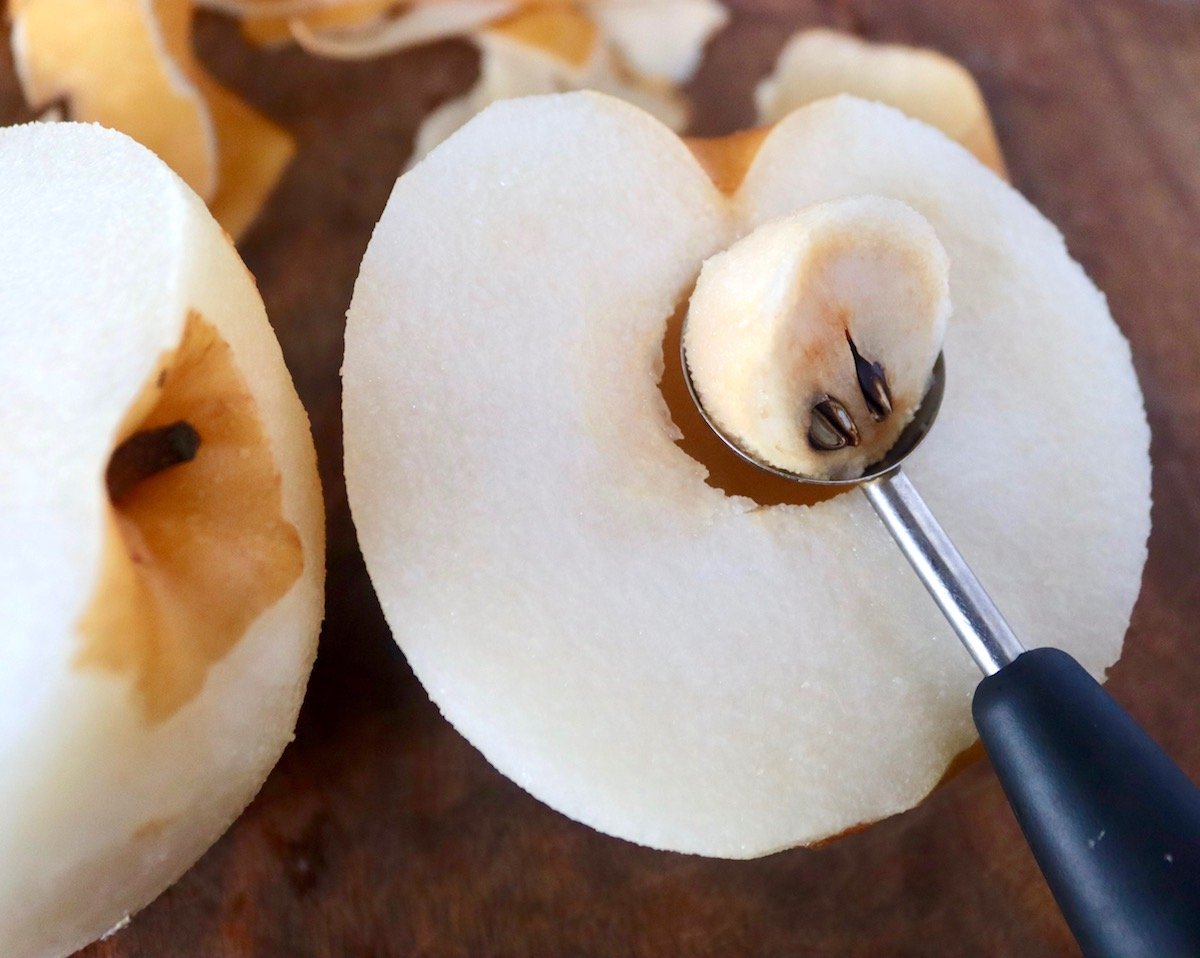
- Use a melon baller to scoop out the seeds from each half, and then use a paring knife to cut out any remaining stem and skin.
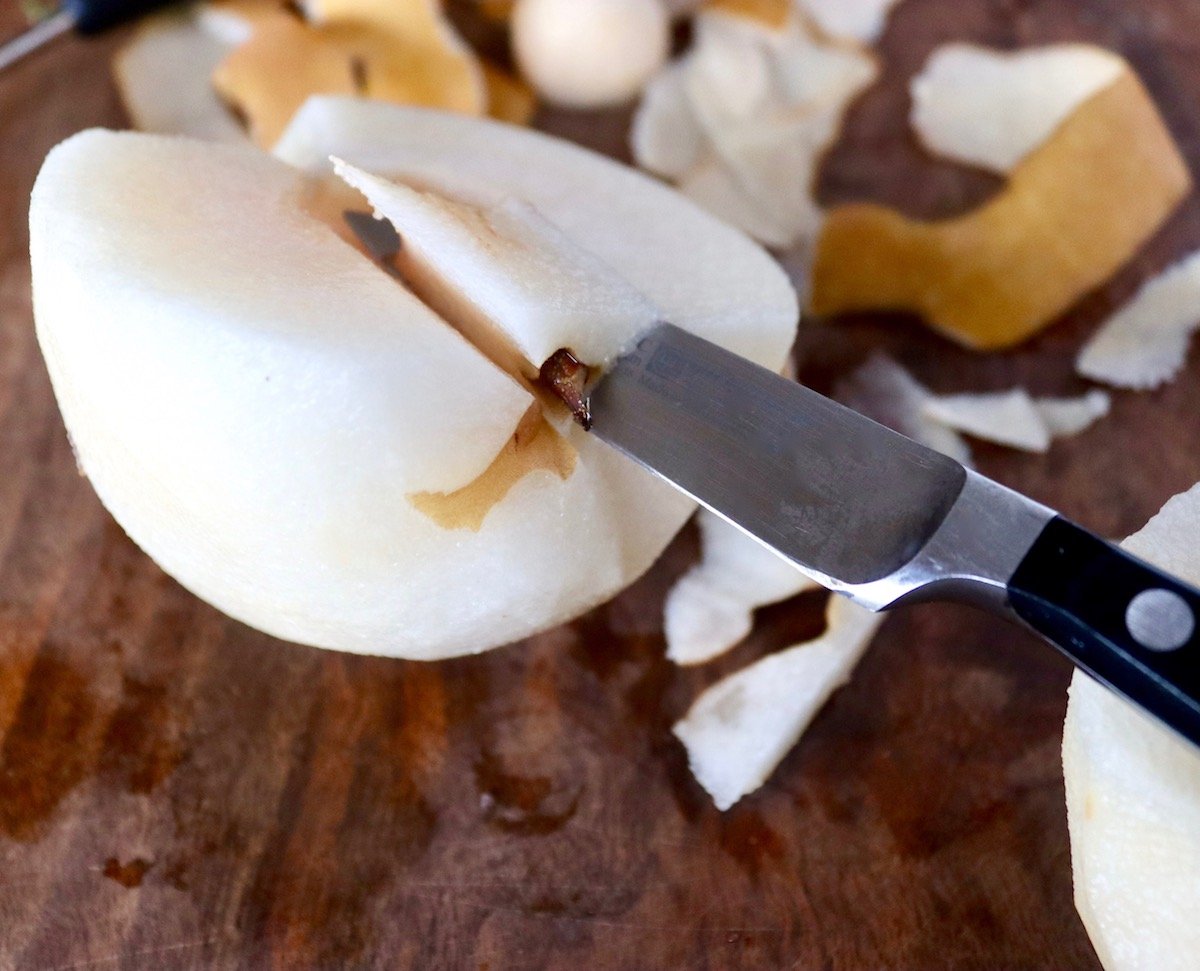
- Coat the bottom of the parchment-lined pan with a thin layer of the syrup, and place the pear halves in, round sides up, as you prepare them, spooning some of the syrup on top of each one. (This is to prevent them from turning brown.)

- Now, one at a time, remove the pear halves from the pan and use a slicing knife to cut as many slits as you can, and as thinly as you can, horizontally, into the round side of the pear half. Don't cut all the way through the pear! Your knife should stop about 1 inch from the bottom.
Recipe Tip: I find a long slicing knife is best for making the slits in the pears. They're typically thin and long enough to make just one cut without moving the knife in a sawing motion.
- Return the sliced halves to the pan as you go, round/sliced sides up.
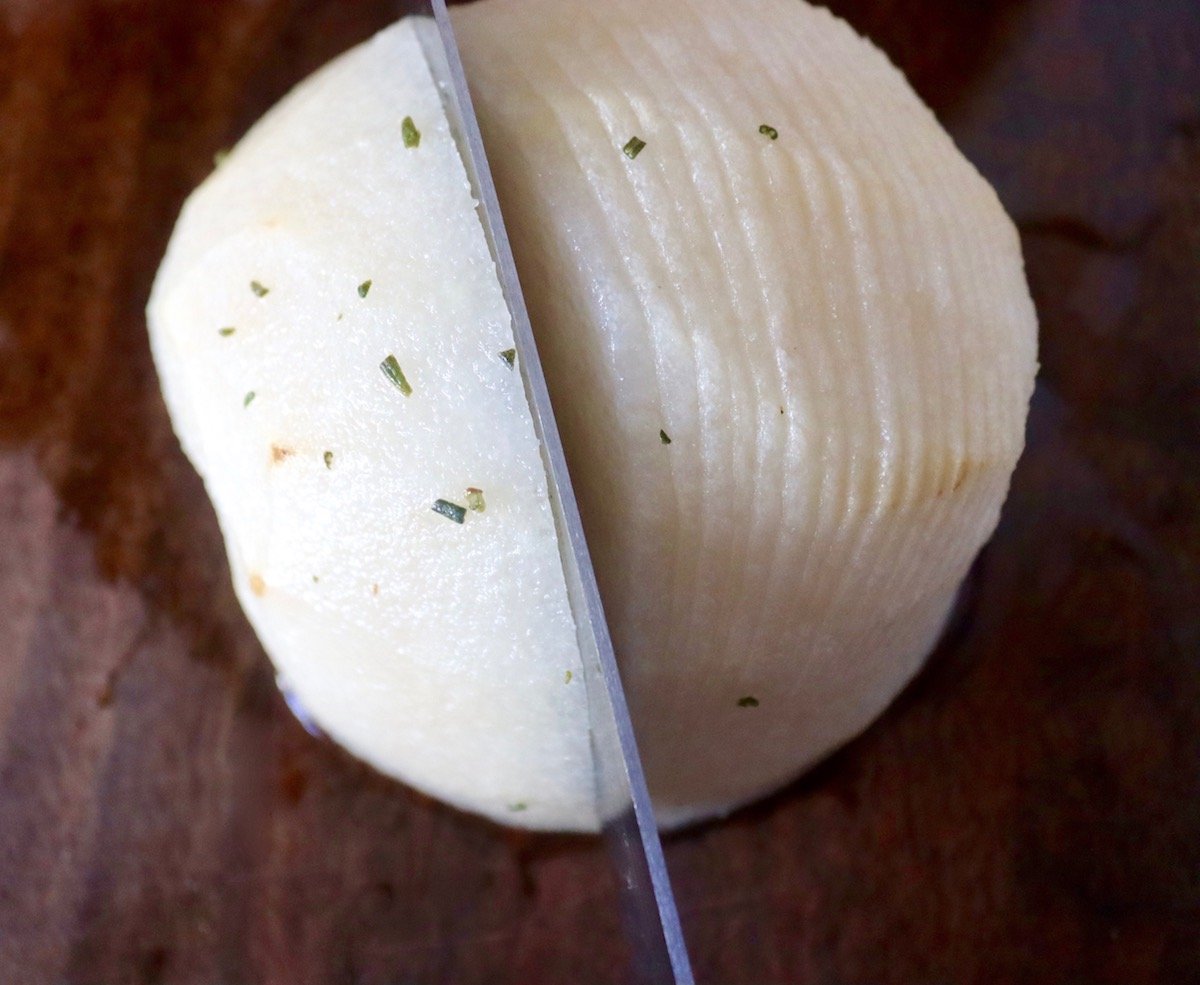

- Pour the remaining rosemary syrup over them. The pears should be well coated. Use the tip of a knife to open each slit slightly to be sure the syrup goes inside. There will be excess syrup in the bottom of the pan that will go about ¼ to ½ way up the sides of the pears. This is perfect, as we'll be basting with that during the roasting process.
- Place the pears in the preheated 400°F oven and set the timer for 15 minutes. Use a small ladle or a soup spoon, to baste the pears, again getting the syrup into the slits. (The slits will become more open as they roast, and it will therefore become easier to do this.)
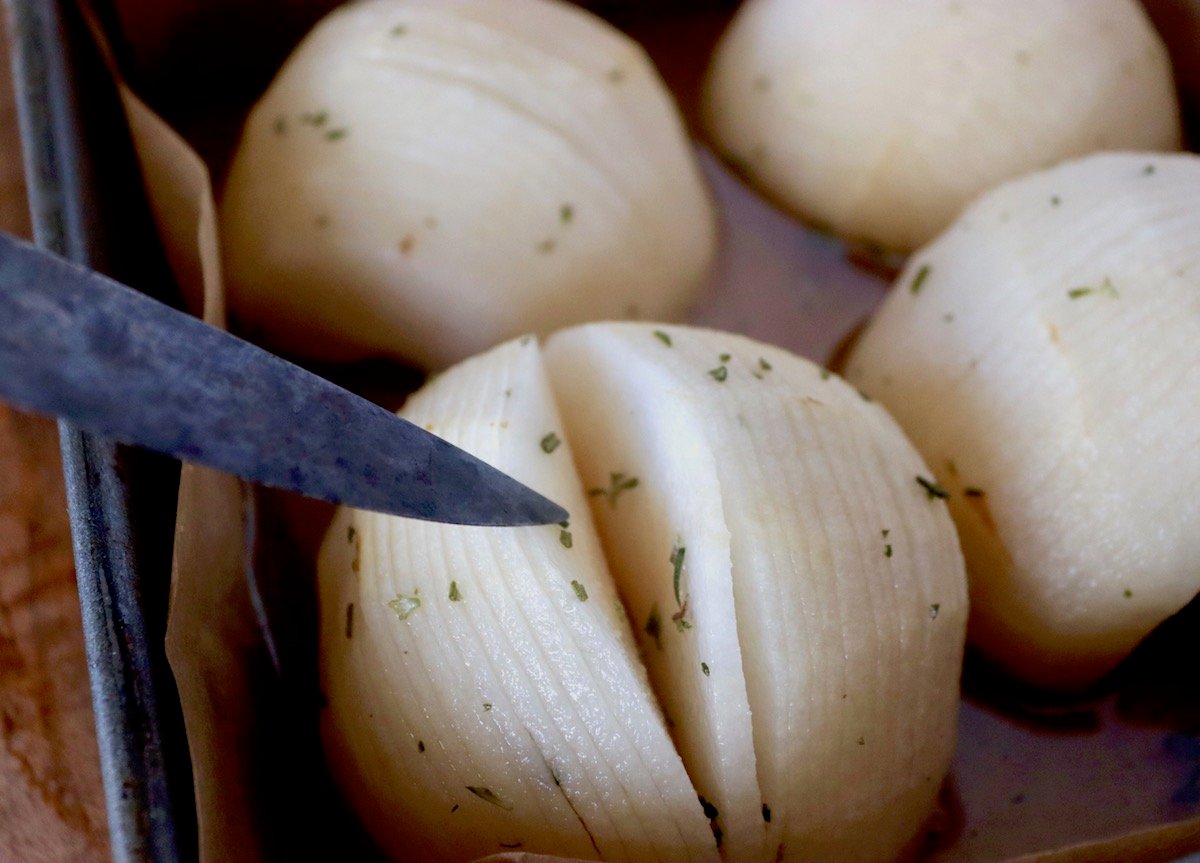
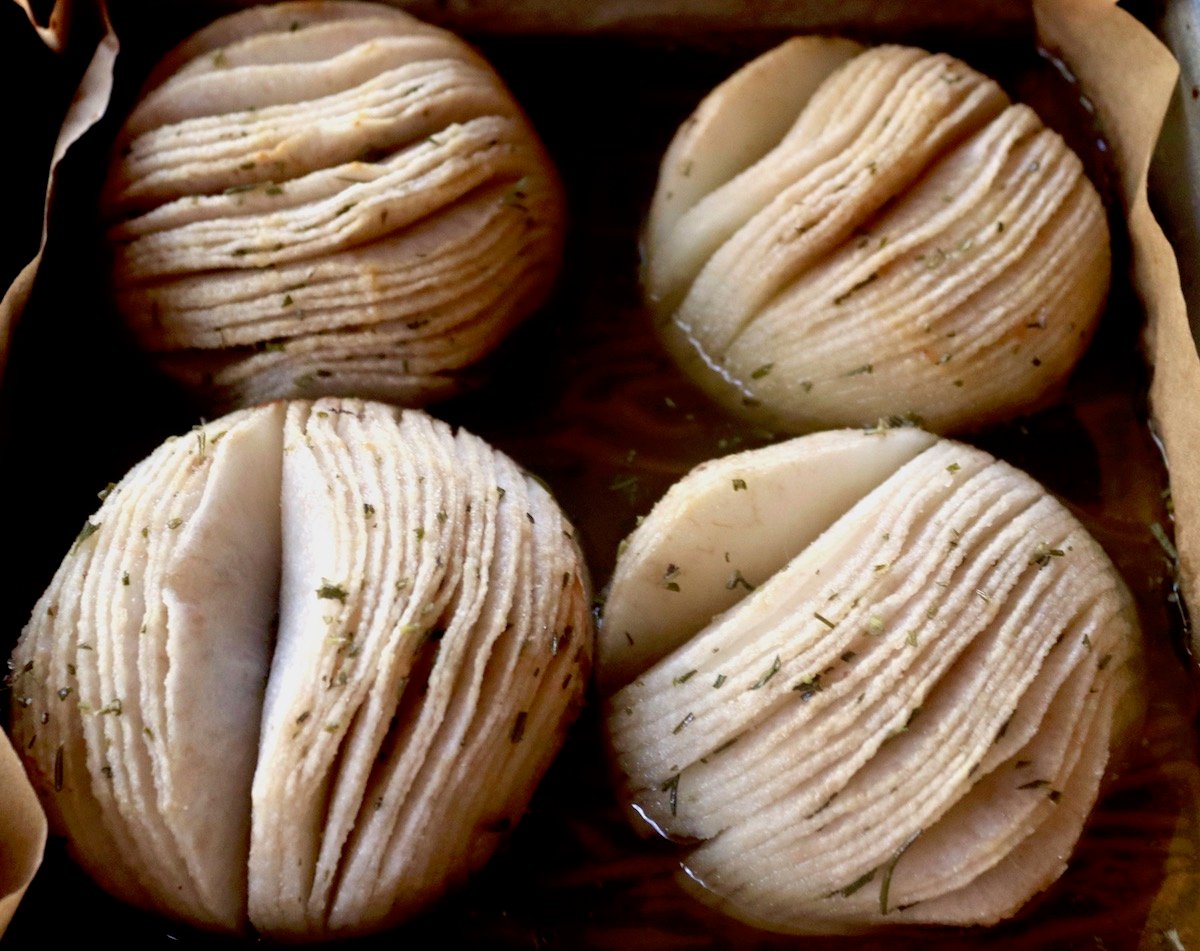
- Continue to set the timer and baste every 15 minutes, until you've reached 1 hour. Then roast for another 30 minutes, or until the pears are very tender, basting generously at that time.
Recipe Tip: Don't skimp on the basting every 15 to 20 minutes or so. This is what makes the pears so amazingly flavorful.
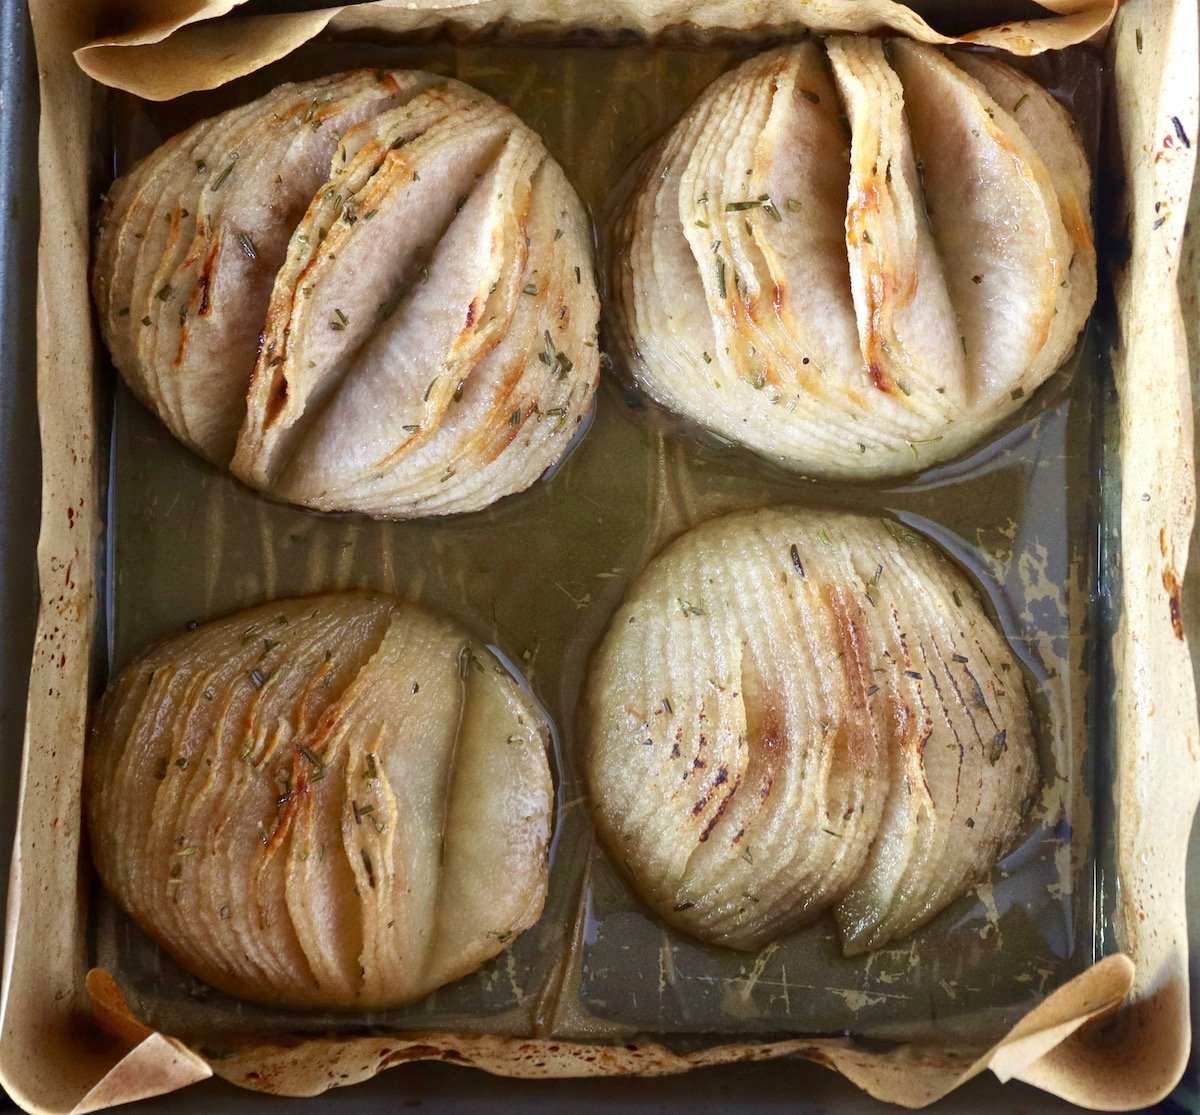
- If the tops of the pears are not golden by the time they're done baking, you can put them under the broiler for about 30 seconds or so. Watch them closely so they don't burn. (This isn't necessary, but they look extra tasty with the golden color, and the touch of crispness is fantastic.)
Variations
- Hasselback apples. You can also make the recipe with apples - only very firm varieties, like Granny Smith or Honeycrisp.
- Other fresh herbs. If you'd like to try another fresh herb, thyme would be my second choice.
- Other simple syrups. Experiment with other flavors. Hazelnut Simple Syrup is a delicious choice.
What to Do with Asian Pears (More Ideas!)
Asian pears are one of my favorite fall fruits to play with, because they can be delicious in both sweet and savory recipes. Beyond this Hasselback version, here are some of my favorite ways to use them:
- Toss them into salads and slaws. Thin matchsticks of Asian pear add crunch and sweetness, and they won't turn mushy the way softer pears do.
- Add them to a cheese board. They're fantastic with all sorts of hard and soft cheeses, including sharp cheddar, manchego, blue cheese, or creamy brie.
- Use them in a marinade. Grated Asian pear is a classic in Korean marinades because it helps tenderize the meat and adds a little sweetness. Try it in my Asian Pear Marinated Steak.
- Bake them. My Honey Baked Asian Pears are another easy dessert that's perfect for entertaining. (Especially for a fancier Thanksgiving.)
- Eat them raw. Slice them up and enjoy them cold and crisp. They're super refreshing.
What does Hasselback mean?
- Hasselback refers to a classic preparation of a potato. And in this Asian pear recipe, we're applying the same technique.
- The technique is to make a series of evenly spaced, very thin slices that go all the way across, but not quite all the way through the potato, or in this case, the pear.
Serving Suggestions
- Absolutely divine on their own, the Hasselback pears are also excellent served with vanilla bean or cinnamon ice cream. If they're still a bit warm, they'll turn the ice cream into sauce and it's magical.
- With the rosemary syrup drizzled over them, the pears are delightful served with cake or sweet bread that will soak it up. A plain pound cake or my Glazed Pineapple Guava Bread would both be excellent.
- The pears are also wonderful with Greek yogurt!
More Asian Pear Recipes (Sweet and Savory)
- Asian Pear Marinated Steak
- Honey Baked Asian Pears
- Port Wine Poached Pears (made with regular pears)
Can you make them ahead?
- You can make the rosemary simple syrup up to a couple of days ahead of time, storing it in an airtight container in the refrigerator. Bring it to room temperature before using it.
- The pears are best served the day they are made, ideally about 10 minutes after they're removed from the oven.
- However, they will still be tasty for a few days, but not quite as pretty, and any crispness on the top of the cuts will likely be lost. (Keep them refrigerated in an airtight container.)
Enjoy! I hope you love my Hasselback Asian Pears as much as my family and I do.
Hasselback Asian Pear Recipe with Rosemary Syrup
Ingredients
- 1 cup water
- 1 cup granulated sugar
- 2 teaspoons finely chopped fresh rosemary, washed and dried
- 2 teaspoons lemon juice
- 1½ teaspoons pure vanilla extract
- 2 large Asian pears (about ½-pound each)
- fresh rosemary sprigs for garnish
Instructions
- Set the oven and prepare the pan. Preheat the oven to 400°F, adjust a rack to the center of the oven, and line an approximately 8 x 8-inch baking pan with parchment paper.
- Make the rosemary syrup. In a small saucepan combine the water, sugar, lemon juice, rosemary and vanilla. Bring to a boil and then turn off the heat. Stir to ensure all of the sugar has dissolved. Set aside.
Prepare the Pears
- Peel the pears and then cut them in half, lengthwise. Use a melon baller to scoop out the seeds from each half, and then use a paring knife to cut out any remaining stem and skin.Coat the bottom of the parchment-lined pan with a thin layer of the syrup, and place the pear halves in, round sides up, as you prepare them, spooning some of the syrup on top of each one. (This is to prevent them from turning brown.)
- Now, one at a time, remove the pear halves from the pan and use a slicing knife to cut as many slits as you can, and as thinly as you can, horizontally, into the round side of the pear half. Don't cut all the way through the pear! Your knife should stop about 1 inch from the bottom.Return the sliced halves to the pan as you go, round/sliced sides up.Then pour the remaining rosemary syrup over them. The pears should be well coated. Use the tip of a knife to open each slit slightly to be sure the syrup goes inside. There will be excess syrup in the bottom of the pan that will go about ¼ to ½ way up the sides of the pears. This is perfect, as we'll be basting with that during the roasting process.
- Bake and baste. Place the pears in the preheated 400°F oven and set the timer for 15 minutes. Use a small ladle or a soup spoon, to baste the pears, again getting the syrup into the slits. (The slits will become more open as they roast, and it will therefore become easier to do this.) Continue to set the timer and baste every 15 minutes, until you've reached 1 hour. Then roast for another 30 minutes, or until the pears are very tender, basting generously at that time.If they are not golden on top, place them under the broiler for about 30 seconds. (Watch them carefully so they don't burn.)
- Serve. Gently remove the pears from the pan with a flat-bottomed spatula, and place them on serving plates.Drizzle each one with some of the remaining syrup.
NOTES
NUTRITION
Cooking On The Weekends is a participant in the Amazon Services LLC Associates Program, an affiliate advertising program designed to provide a means for sites to earn advertising fees by advertising and linking to Amazon.com.

Maneesha Bhatt
Better than most restaurant desserts. Perfect amount of sweetness, perfect texture! I did add 1/2 tsp more of lemon juice to the reduced syrup just before serving, and sprinkled cinnamon atop the pears before roasting since I only had vanilla ice cream. But other than that I followed the recipe exactly. Sensational.
Valentina
Hi there. Such a lovely complement - thank you so very much! I'm so happy you enjoyed this pear recipe. It's one of my favorite fruit desserts. The sprinkling of cinnamon sounds lovely! 🙂 ~Valentina